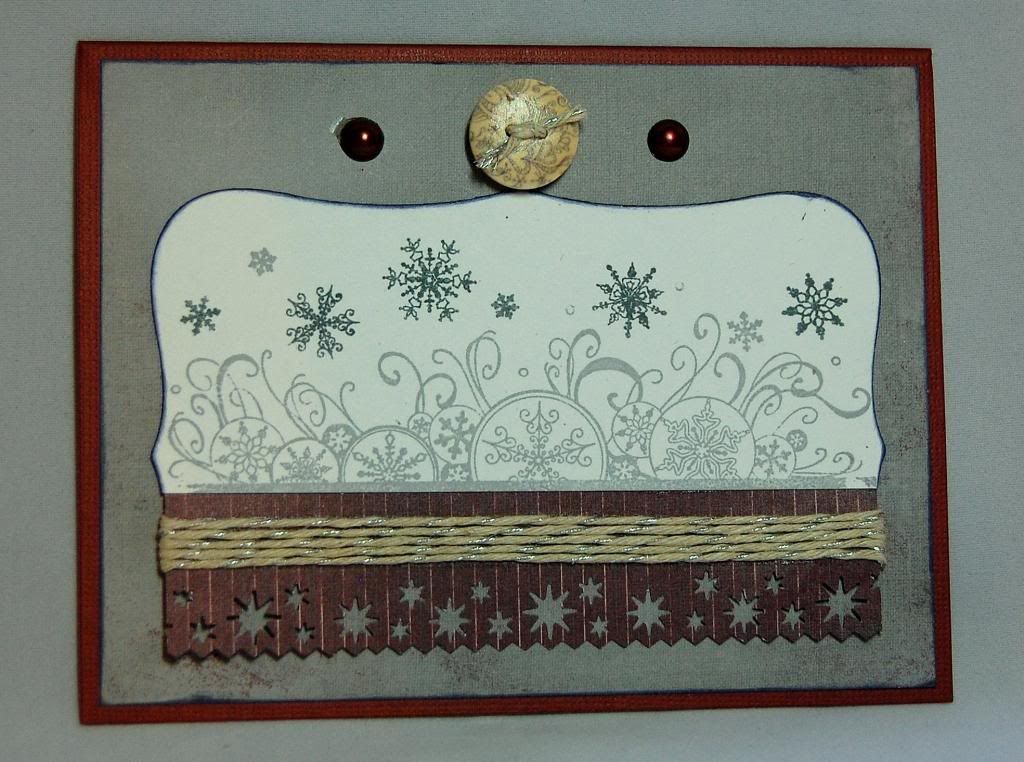
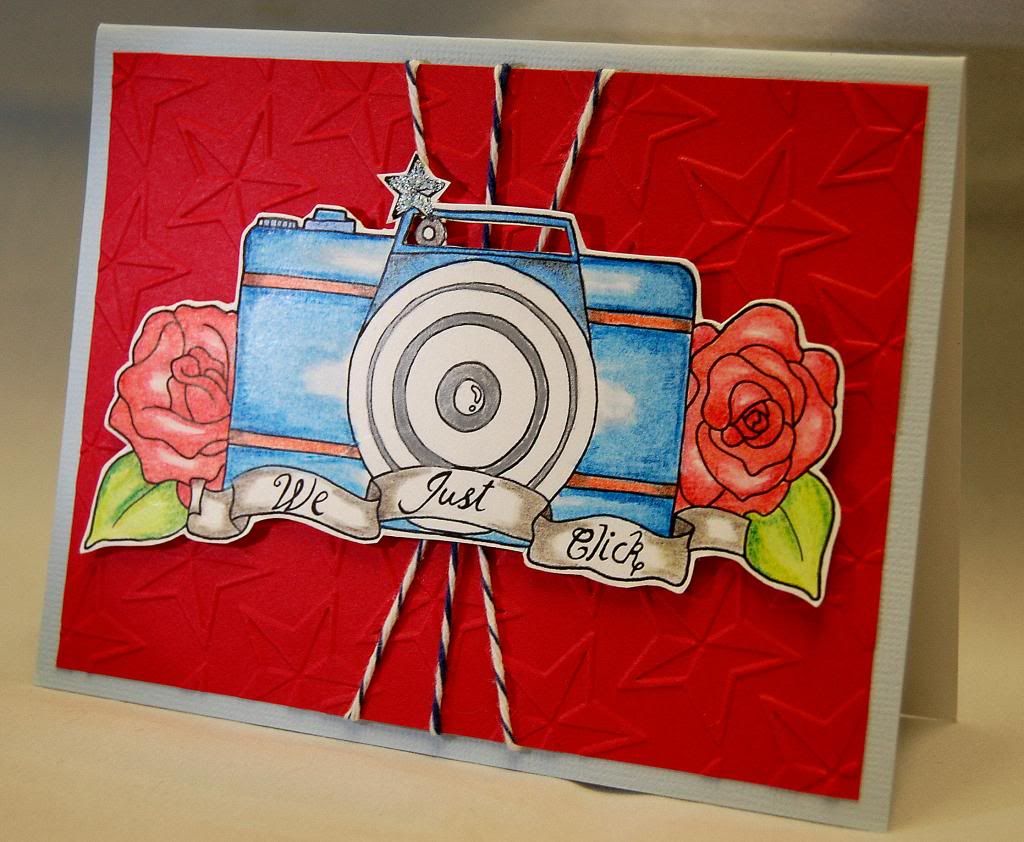
I made this quick yet pretty card and I used a button and half pearls from Miriam's Crafting Supplies.
I just love the way it came out! I colored the stamp using Tim Holtz Distress Markers and then added some twine.
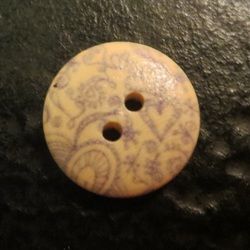
What I really like about this button is the colors - soft grey. The design is more of a paisley with hearts so it can be used all year long but it works perfectly on the Christmas card too.
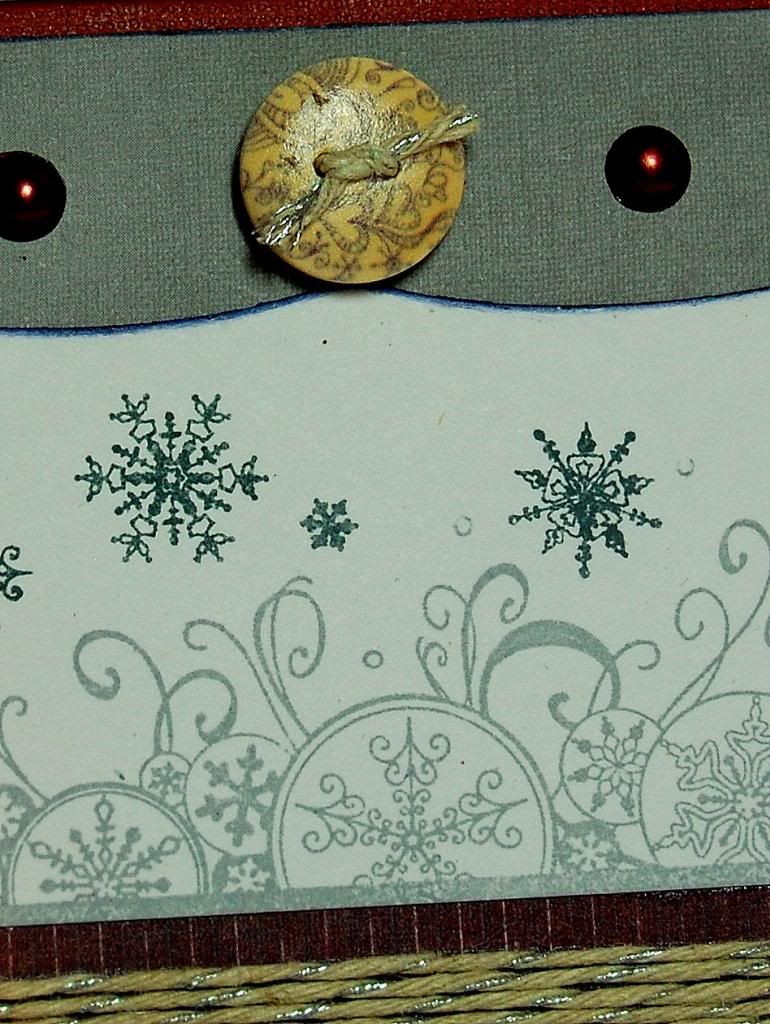
Here is a close up.
Isn't this such a beautiful button! Thanks for stopping by today and don't forget to check out all the buttons at Miriam's Crafting Supplies.
Wednesday, July 31, 2013
Monday, July 29, 2013
Glitter Hop Winner and random things
Hello Monday!
I know I was suppose to post the winner from the Glitter Blog Hop yesterday but I forgot. I was working on a very special and exciting project that I can't tell a soul about until September or maybe October. I can tell you this though, I think you'll like what I'm up to when all is said and done.
Here is a project that I did awhile ago and would like to show today before announcing our winner.I made this banner for the fourth of July and my Scrappy Frog Challenge. I used a cupcake set from SVG Attic and converted it to banner size. It was quick and cute.
Here is a project that I did awhile ago and would like to show today before announcing our winner.I made this banner for the fourth of July and my Scrappy Frog Challenge. I used a cupcake set from SVG Attic and converted it to banner size. It was quick and cute.
Now on to our winner:
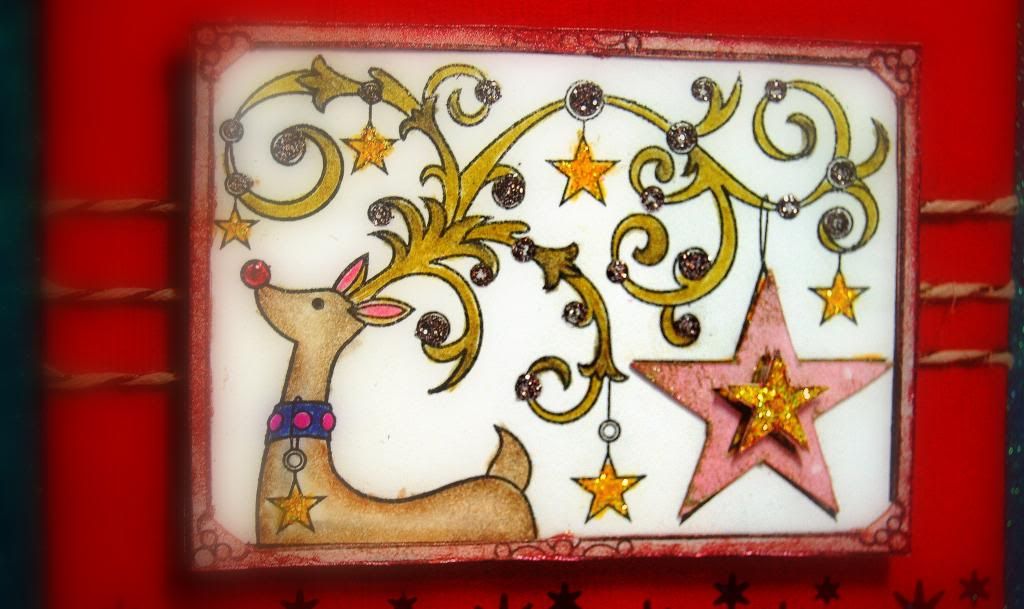
Camille Short (#3 picked by random.org) and she wrote: What an awesome image! Love the reindeer!
Congratulations Camille and please contact me through email or message with your address and I'll get your gift card out ASAP.
Thank you to all who stopped by and said HI! You don't know how happy that makes me not for myself but for all the crafters who participate in these hops.
If you're interested in August's hop, our theme is Play It Again (Got back in time and find a project that you really,
really liked and display it on your blog again telling us why you chose
that project again.), just click on the link and we'll put you in our main group.
https://www.facebook.com/groups/lorbysworldofhops/
Friday, July 26, 2013
Buttons and Bows Tutorial
Miriam's Crafting Supply has so many buttons that it's hard to choose which one to use on a project and that's what I had to do.
I decided to show how buttons can be used on gift bows and needed one of the bigger buttons for this project. I went with one of the 30 mm buttons.
I used red sheer 1 1/2 inch ribbon to make my bow and you might say I cheated a little since I grabbed my Bowdabra to do it.
One strand of string goes in one way and the other strand with go the opposite direction.
Then bring the two stands around back of the bow and tie them one more time. This will hold the button in place.
I decided to show how buttons can be used on gift bows and needed one of the bigger buttons for this project. I went with one of the 30 mm buttons.
I used red sheer 1 1/2 inch ribbon to make my bow and you might say I cheated a little since I grabbed my Bowdabra to do it.
This is the way I wrapped the cord around the ribbon when I was done.
I brought both ends around to one side and preceded to attach my button.
One strand of string goes in one way and the other strand with go the opposite direction.
Then bring the two stands around back of the bow and tie them one more time. This will hold the button in place.
Poof out your bow and there you have it.
Here is a mini tutorial on how to cut the ends.
Take your ribbon and fold it in half and cut across like the scissors are laying.
Thursday, July 25, 2013
Glitter Blog Hop
Welcome to this months Lorby's World of Hops blog hop and our theme is GLITTER. Who doesn't love a little sparkle in their life? This hop is taking sparkle to a whole new level with all the creative glittery projects these crafters have made just to put a little (or lot) of sparkle in your life today so please take a few minutes to hop through and leave some kind words for each person participating.
Lorby's World of hops is offering one lucky winner a $10 gift card to Michaels and to get entered into the drawing all you have to do is leave a comment on my blog, become a follower and check back on Sunday to see if you won.
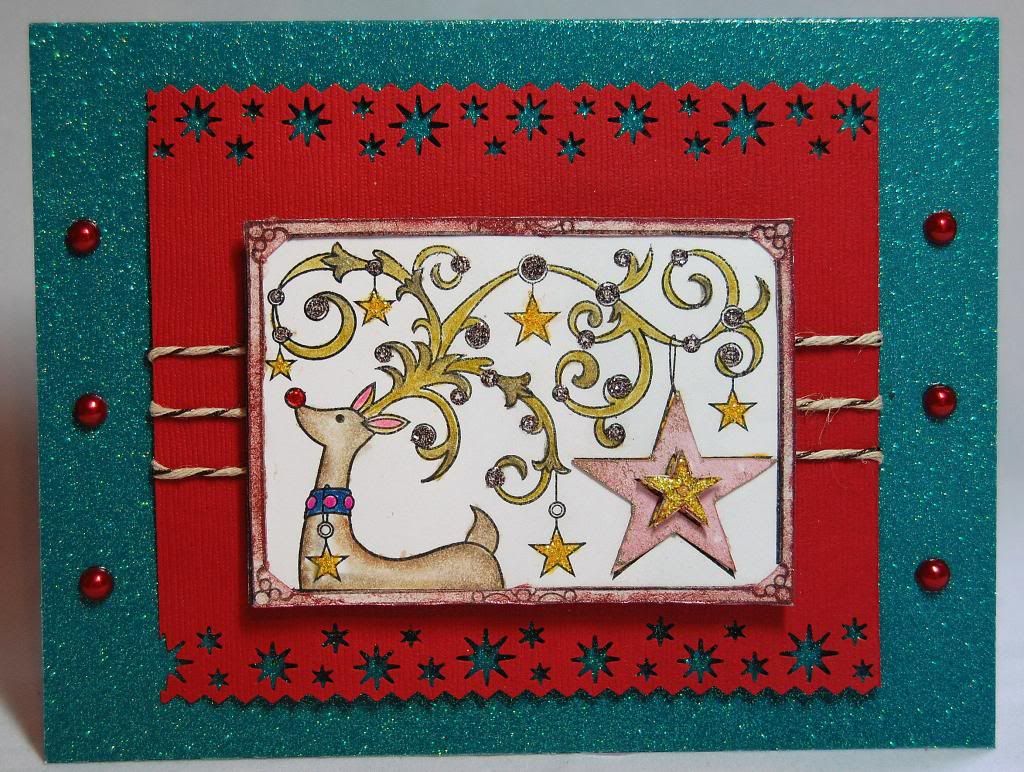
In my creative world if all fails, add glitter or glitter mist to bring out the best in your project and that's exactly what I did with this Christmas card. Yes, Christmas card. I'm still celebrating Christmas in July and getting a jump on my Christmas cards.
I stamped and colored using my Prismacolor pencils and then I decided I needed something more so out came the Stickles. I stamped two of the same image so I could Glimmer Mist in Forever Red the frame and then add that as a raised dimension. I also cut the star apart and used Forever Green Glimmer Mist on the big star and yellow Stickles on the small star and all the other stars.
I added the dark red background with a snow boarder punch design and decided I needed more...so I added the crafter's cord made from hemp and from Hemptique. The hemp twine has a dark shimmer strand running through it.
Still not enough glitter and shimmer so I started going through my A2 cards looking for something I could glimmer mist when low and behold I found this greenish teal card. Perfect!
The red half pearls are from Miriam's Crafting Supplies and where the perfect last touch I needed to finish this card.
Here's the beauty of this project. It wasn't suppose to be for this hop. I was just playing with a new stamp I bought from Tuesday Mornings for 99 cents and before I knew it the glitter and sparkle had taken over and won!
Thanks for stopping by today and now please continue on to Edwina
Complete Line Up:
Jearise ~ http://lorbysworld.blogspot.com/
Edwina ~ http://edwinascreations.blogspot.com/
Lynne ~ http://slasewcraftiness.blogspot.com/
Camille ~ http://shortonideasaz.blogspot.com/
Jamie ~ http://craftygirl21.blogspot.com/
Mayra ~ http://themaddscrapper.blogspot.com/
Carla ~ http://racincrafts.blogspot.com/
Maria ~ http://asimplefive.blogspot.com/
Lucy ~ http://love2createitall.com
Lori ~ http://scrappinmystressaway.blogspot.com/
Davinia ~ http://ifindoubtbling.blogspot.com.au/
Wednesday, July 24, 2013
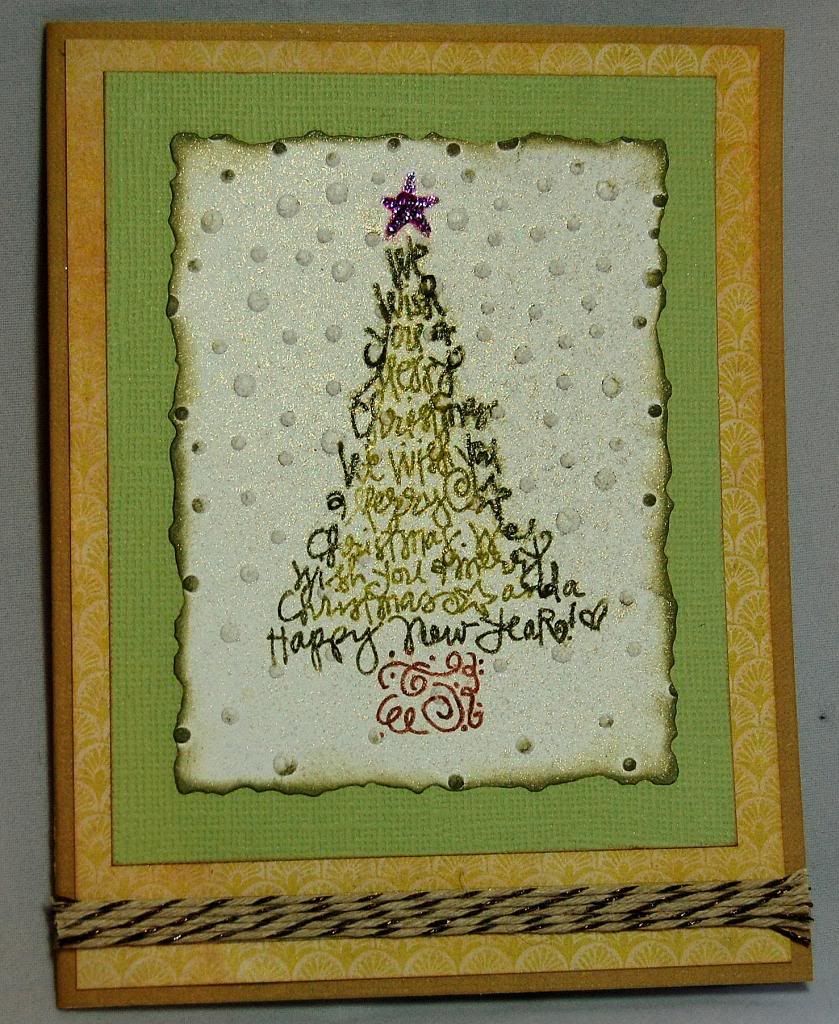
Christmas in July Card
I know Christmas is still a few months away but I figured if I start making cards now, I might have them done in time this year. I usually put it off and then end up having to go buy cards or sending them out the first of the new year.
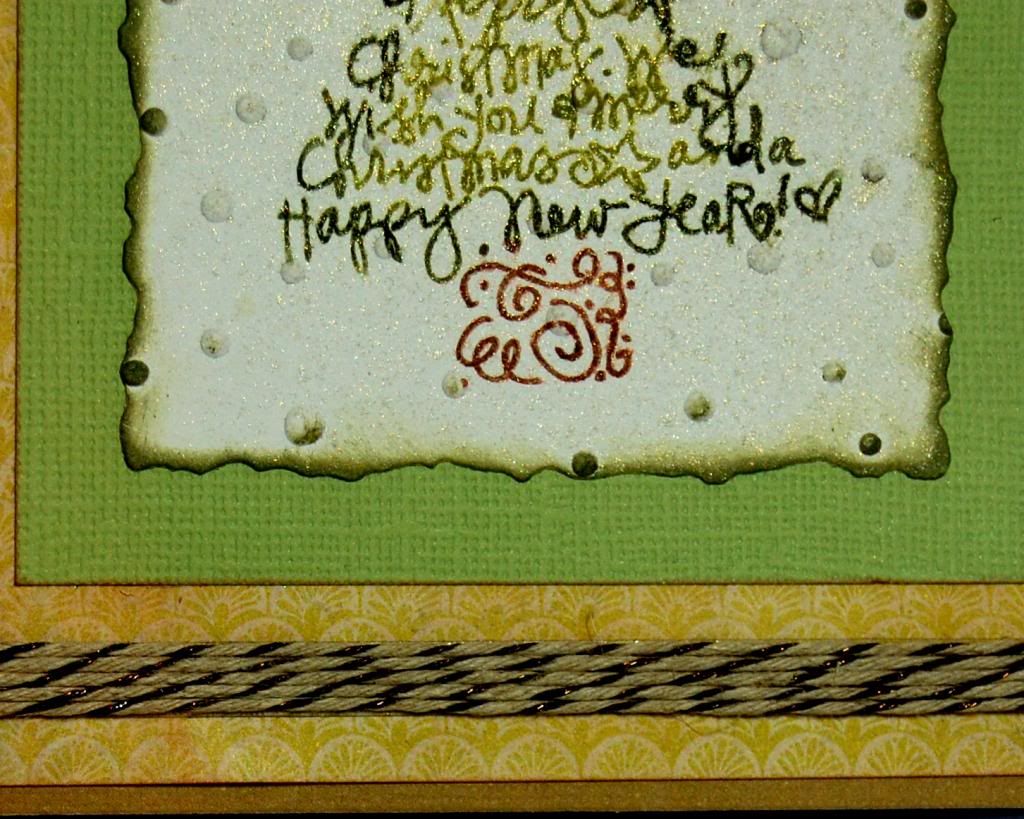
As you can see, I used non traditional colors for this card.
Items from Cutter's Creek Store:
purple Stickles glitter glue for my star
Perfect Pearls Mists in Kiwi for the background
Provocraft Cuddebug Embossing folder - Swiss Dots also for background
Authentique 6 x 6 paper pad - Renew used for yellow background (part of the 6 x 6 paper pad club so email Kim if interested)
Tim Holtz Distress ink pad - Frayed Burlap used to soften the yellow background paper
Inkssentials Ink Blending Foam 10/Pkg used to dispense distress ink on background
ATG used to put the card together
Thanks for stopping by today.
I used Ranger Distress Markers (email Kim if interested) to color my stamp before stamping.
Monday, July 22, 2013
Candy Box from SVG Attic
I made the cutest butterfly candy box today using a Christmas file from SVG Attic. Yes, that's right, a Christmas file. Even though these files were developed with Christmas giving in mind they can be used all year long for special little gifts and giving or even decorating.
I used the little candy box from the Stocking Stuff set to make this.
I used the little candy box from the Stocking Stuff set to make this.
My own little butterfly candy box.
I cut a butterfly out of the paper I used to make the box and I sprayed it with glimmer mist and added some Stickles and hot glued it to the side to cover where the box came together. Here's a close up.
Check out this set and all the wonderful cutting file sets at SVG Attic and right now enjoy 60% off each set in the store but for a limited time so you better hurry on over.
Saturday, July 20, 2013
SVG Attic's Christmas in July Hop
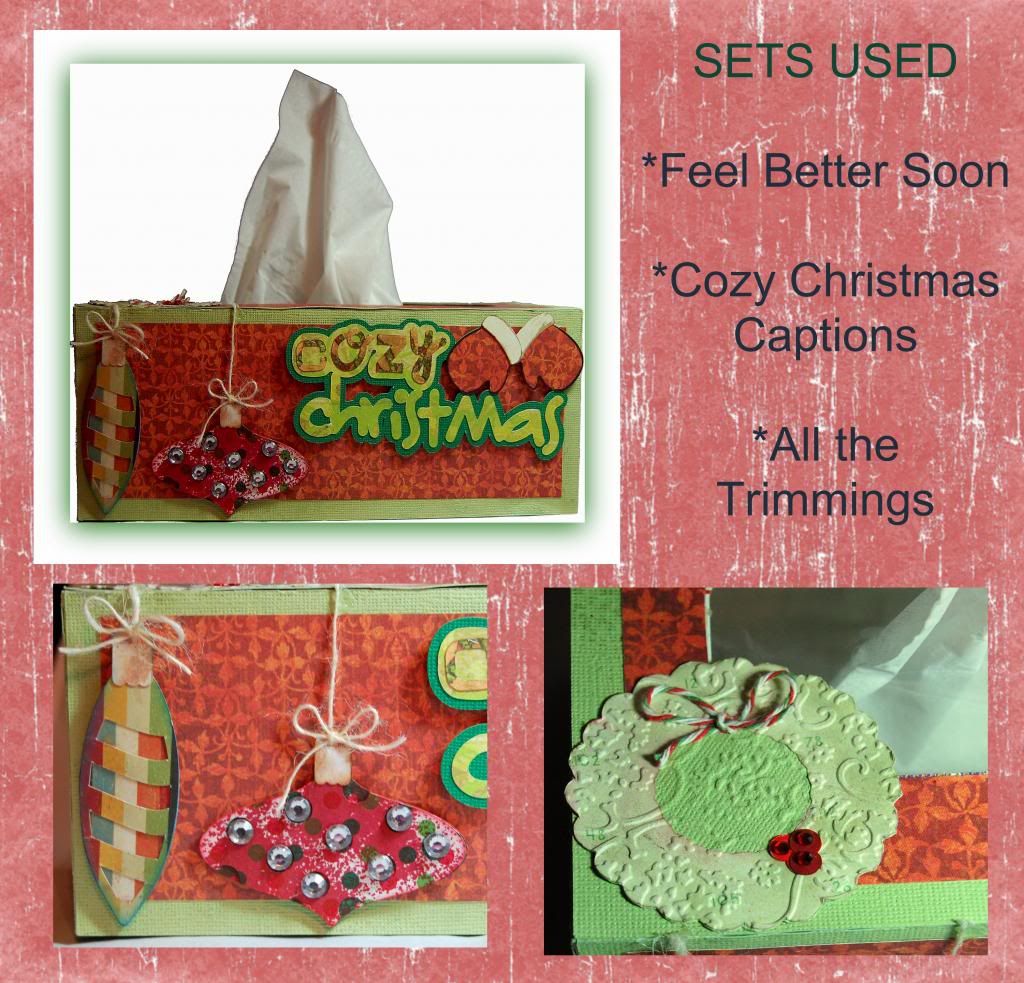
Welcome to the SVG Attic's Christmas in July Hop today we have some great idea to help you start your Christmas crafting early. If you're like me, you wait to the last minute and then run out of time and head to the store to buy something. Well not this year. I have started using SVG Attic's files to come up with some cute holiday decorations and presents and today I am showing the first thing I created. This will be going to the school nurse or maybe stay as a decoration in my own home since I like it so much.
It's a tissue box holder.
Check out the files I used because there are lot of cuteness in each one.
Feel Better Soon (used for the box)
Cozy Christmas Captions (Cozy Christmas words)
All the Trimmings (wreath on top of box and ornaments on the size)
SVG Attic will be giving away a $20 gift card to one lucky winner who comments on each blog post in this hop so head on over to Monica's blog to see what she created.
Saturday, July 13, 2013
July Calendar Girls
Click for the Cutter's Creek Christmas in July Hop
Welcome to our July Calendar Girls' Blog Hop. It’s absolutely amazing when you do a Google search the interesting facts you may find. Such a find is special and unique occasions throughout the year!!! These unique holidays are our inspiration. As Neil Sedaka sang in his song "Calendar Girls" - "July like a firecracker all aglow!"
Our hop begins today with the lovely and super talented Jearise at http://lorbysorld.blogspot.com. The entire line-up is available just in case you get bogged down with all the holidaze and craziness as you won't want to miss a single calendar event!!!!
The line-up for July includes:
Jearise - http://lorbysworld.blogspot.com
Laura - www.lauraleesdream.blogspot.com
Lynne ~ http://slasewcraftiness.blogspot.com/
Janet ~ http://ladyluvbug.blogspot.com/
Vicky ~ http://crafting-vicky.blogspot.ca/
Sandy- http://scrapbookblessings.blogspot.com
Edwina- http://edwinascreations.blogspot.com/
Anita Cannon - http://www.anitaandbugs.com
Holidays, Special and Wacky Days for July are:
July 2013 Daily Holidays, Special and Wacky Days Include:
1 Build A Scarecrow Day ~ Lynne
1 Canada Day ~ Laura
2 World UFO Day ~Anita Cannon
4 Independence Day ~Janet
7 Chocolate Day ~
7 National Strawberry Sundae Day ~Janet
8 Video Games Day ~ Vicky
9 National Sugar Cookie Day ~
10 Teddy Bear Picnic Day ~ Lynne,
15 Cow Appreciation Day - Go out and give a cow a hug ~ Sandy
17 Yellow Pig Day ~ Sandy
19 National Raspberry Cake Day ~
20 Moon Day ~ Anita Cannon
21 National Ice Cream Day ~ Edwina
23 National Hot Dog Day ~ Jearise
23 Vanilla Ice Cream Day ~
24 Amelia Earhart Day ~ Sandy
25 Threading the Needle Day ~ Lynne
26 Aunt and Uncle Day ~ Anita
28 Parent's Day ~Edwina
30 Father-in-Law Day ~
31 Mutt's Day ~
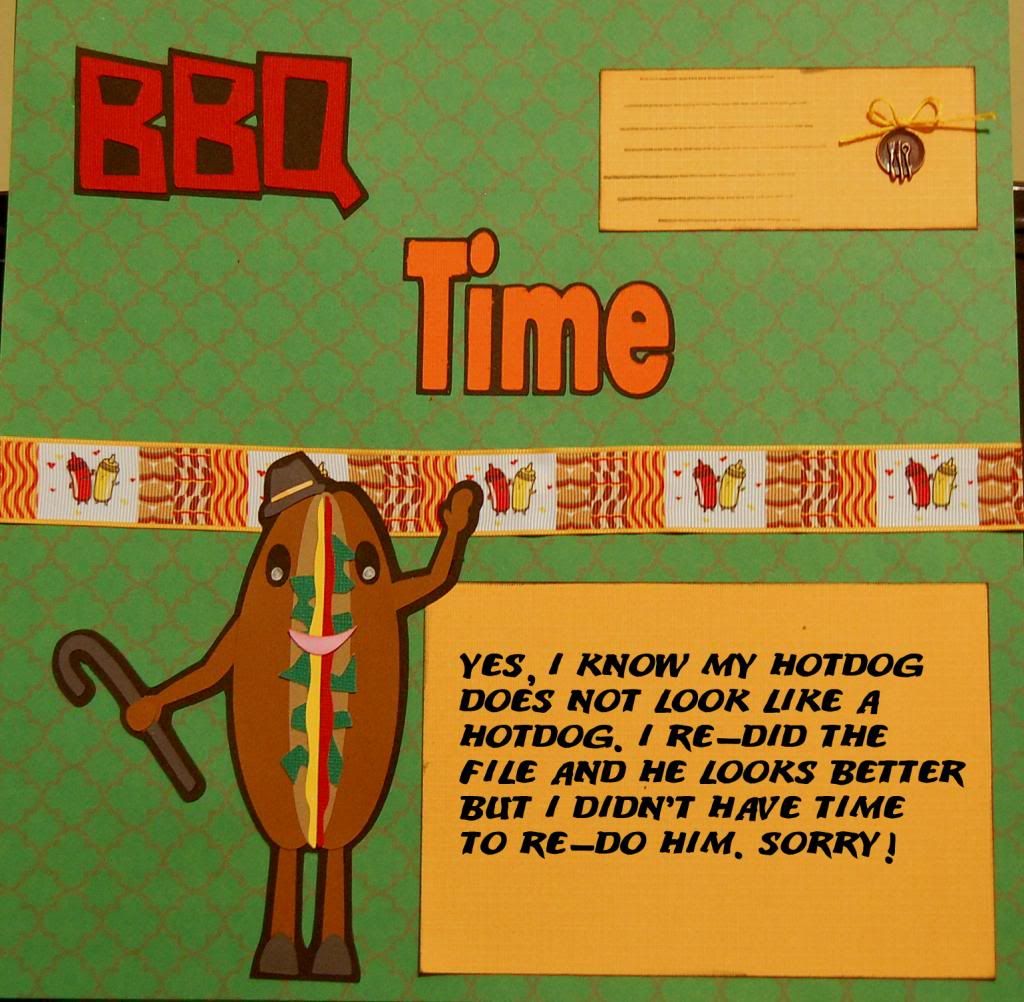
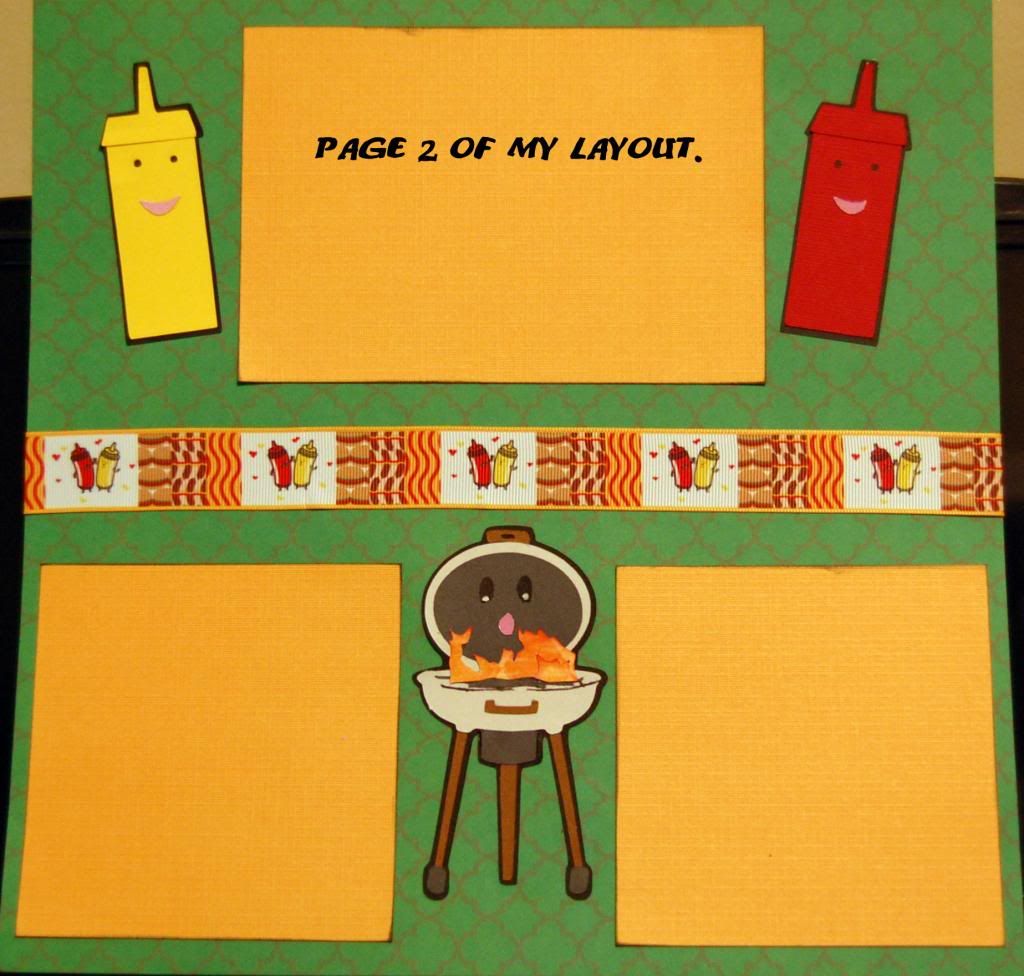
Here is my HOTDOG layout.
We are offering some fabulous blog candy to 3 lucky winners:
The Stamping Chef, http://thestampingchef.oo.gd/, is our wonderful sponsor for today's blog hop and has designed at least ?? of the images that have been used in today's hop. She is offering 3 of her wonderful designs, winner's choice to one lucky blog hopper that responds on each of the Calendar Girls along with her facebook page, https://www.facebook.com/groups/TSCRecipes/, commenting that you hopped with the Calendar Girls.
Lynne will be going through her stash and sending one lucky winner a surprise package to someone that remarks and gives bloggie love on each of the participants.
Your next stop along the way of the calendar is Laura. Thanks for stopping by and mark your calendar again next month to see what Holidays to Celebrate on August 10, 2013, for the next Calendar Girls Blog Hop!
Welcome to our July Calendar Girls' Blog Hop. It’s absolutely amazing when you do a Google search the interesting facts you may find. Such a find is special and unique occasions throughout the year!!! These unique holidays are our inspiration. As Neil Sedaka sang in his song "Calendar Girls" - "July like a firecracker all aglow!"
Our hop begins today with the lovely and super talented Jearise at http://lorbysorld.blogspot.com. The entire line-up is available just in case you get bogged down with all the holidaze and craziness as you won't want to miss a single calendar event!!!!
The line-up for July includes:
Jearise - http://lorbysworld.blogspot.com
Laura - www.lauraleesdream.blogspot.com
Lynne ~ http://slasewcraftiness.blogspot.com/
Janet ~ http://ladyluvbug.blogspot.com/
Vicky ~ http://crafting-vicky.blogspot.ca/
Sandy- http://scrapbookblessings.blogspot.com
Edwina- http://edwinascreations.blogspot.com/
Anita Cannon - http://www.anitaandbugs.com
Holidays, Special and Wacky Days for July are:
- National Hot Dog Month: Jearise
- National Ice Cream Month: Laura
July 2013 Daily Holidays, Special and Wacky Days Include:
1 Build A Scarecrow Day ~ Lynne
1 Canada Day ~ Laura
2 World UFO Day ~Anita Cannon
4 Independence Day ~Janet
7 Chocolate Day ~
7 National Strawberry Sundae Day ~Janet
8 Video Games Day ~ Vicky
9 National Sugar Cookie Day ~
10 Teddy Bear Picnic Day ~ Lynne,
15 Cow Appreciation Day - Go out and give a cow a hug ~ Sandy
17 Yellow Pig Day ~ Sandy
19 National Raspberry Cake Day ~
20 Moon Day ~ Anita Cannon
21 National Ice Cream Day ~ Edwina
23 National Hot Dog Day ~ Jearise
23 Vanilla Ice Cream Day ~
24 Amelia Earhart Day ~ Sandy
25 Threading the Needle Day ~ Lynne
26 Aunt and Uncle Day ~ Anita
28 Parent's Day ~Edwina
30 Father-in-Law Day ~
31 Mutt's Day ~
Here is my HOTDOG layout.
We are offering some fabulous blog candy to 3 lucky winners:
The Stamping Chef, http://thestampingchef.oo.gd/, is our wonderful sponsor for today's blog hop and has designed at least ?? of the images that have been used in today's hop. She is offering 3 of her wonderful designs, winner's choice to one lucky blog hopper that responds on each of the Calendar Girls along with her facebook page, https://www.facebook.com/groups/TSCRecipes/, commenting that you hopped with the Calendar Girls.
Lynne will be going through her stash and sending one lucky winner a surprise package to someone that remarks and gives bloggie love on each of the participants.
Your next stop along the way of the calendar is Laura. Thanks for stopping by and mark your calendar again next month to see what Holidays to Celebrate on August 10, 2013, for the next Calendar Girls Blog Hop!
Friday, July 12, 2013
Cutter's Creek Christmas in July Blog Hop
Please click for the July Calendar Girls Hop
Welcome to the Cutters Creek Christmas in July Blog Hop! If you came from Cindy's blog you are in the right place, if not and you would like to start at the beginning please jump to the Cutters Creek Design Team blog.
Welcome to the Cutters Creek Christmas in July Blog Hop! If you came from Cindy's blog you are in the right place, if not and you would like to start at the beginning please jump to the Cutters Creek Design Team blog.
We
have some great projects in store for you today to provide you with
plenty of inspiration to help you jump start your holiday crafting. So
grab your favorite beverage, sit back and relax, and get ready for some
fun, inspiration, and the chance to win some blog candy too!
Here is what I made for you today.
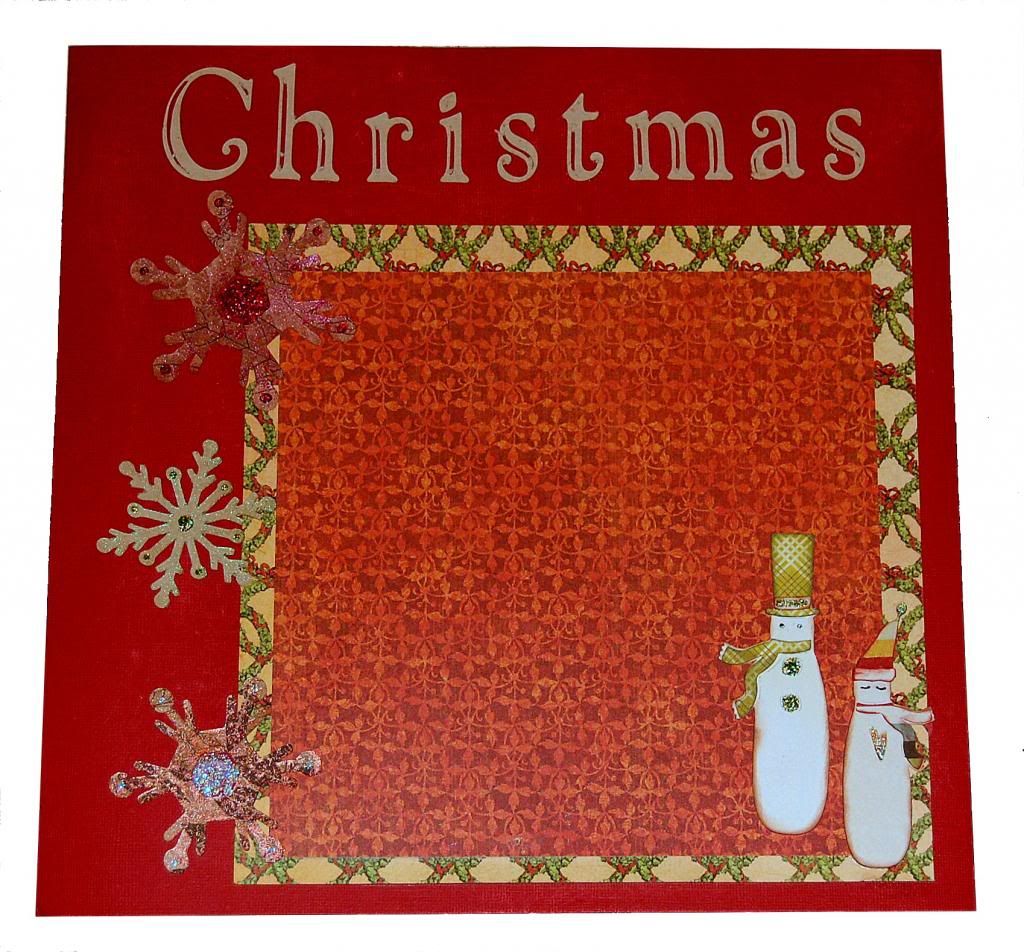
I did a Christmas layout. I figured I might as well get a jump on it this year and maybe then I'll be ahead for my photos. :)
I used:
Cricut Cartridge: Winter Woodland (please email Kim about this cartridge.)
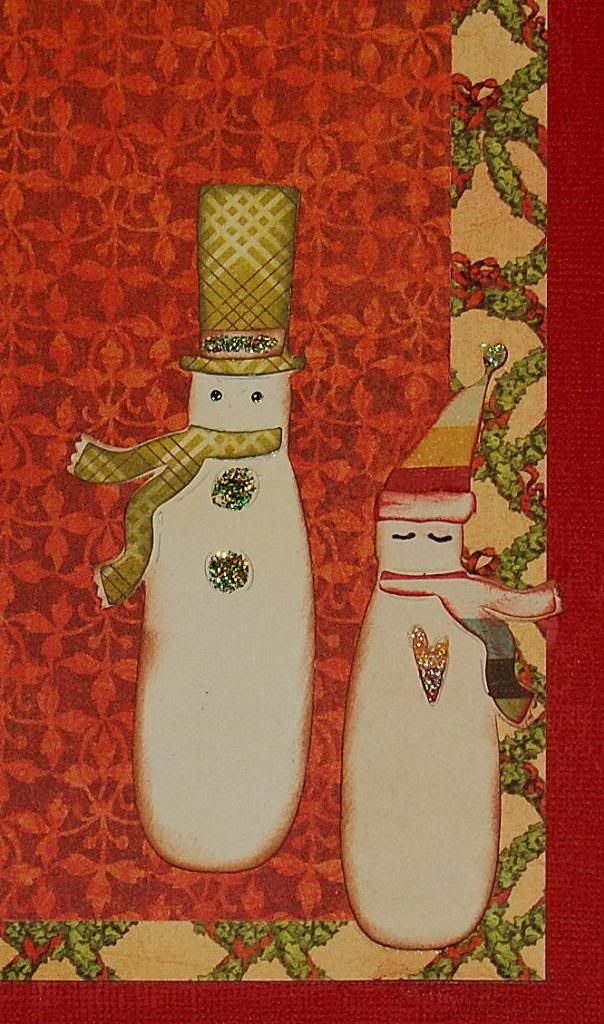
Snowmen: papers from the 6 x 6 Authentique Collection: Remembrance (Email Kim if interested) and Stickles Glitter Glue
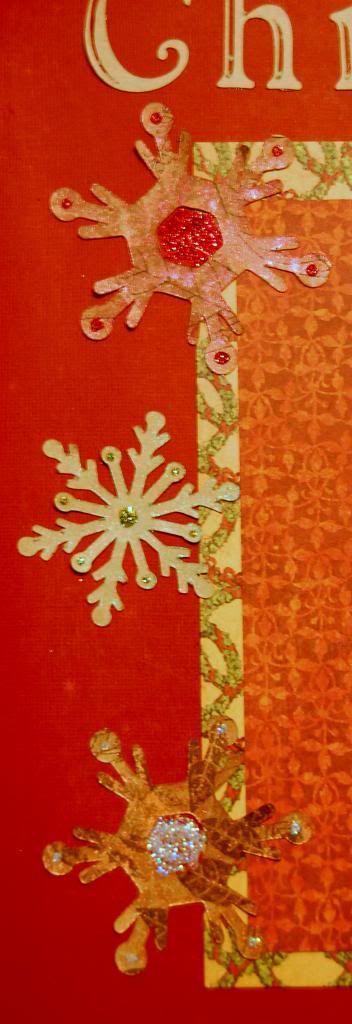
Snowflakes: Graphic 45 paper sprayed with Forever Green, Forever Red and Copper Glimmer Mist, and added Stickles glitter glue in red, green and white
Graphic 45: Christmas Emporium for my photo area.
I held it all together with Scotch Quick-Dry Adhesive and my ATG.
We have some awesome blog candy for you.

To
be eligible for the blog candy, we would love for you to follow us and
leave a comment on all the blogs along the way. We will use Random.org
to select a winner. The winner will be posted on the Cutters Creek Design Team blog on Monday July 15th.
Design Team Blog: http://cutterscreekdesignteam.blogspot.com/
Kim: http://kreativekim.blogspot.com/
Deanna: http://deannaspapercrafts.blogspot.com/
Fran: http://scallopsandswirls.blogspot.com/
Mindy: http://www.scrappyandpiggy.blogspot.com/
Anne: http://www.annesscrapcorner.blogspot.com/
Cindy: http://www.cindyvernon.blogspot.com/
Jearise: http://lorbysworld.blogspot.com/(YOU ARE HERE)
Michele: http://www.scrapytaz.blogspot.com/
Thank
you for hopping along with us and we hope you are getting tons of
inspiration along the way. Don’t forget to leave a comment on each blog
to be eligible for the Blog Candy.
Monday, July 8, 2013
Graduation Time at SVG Attic
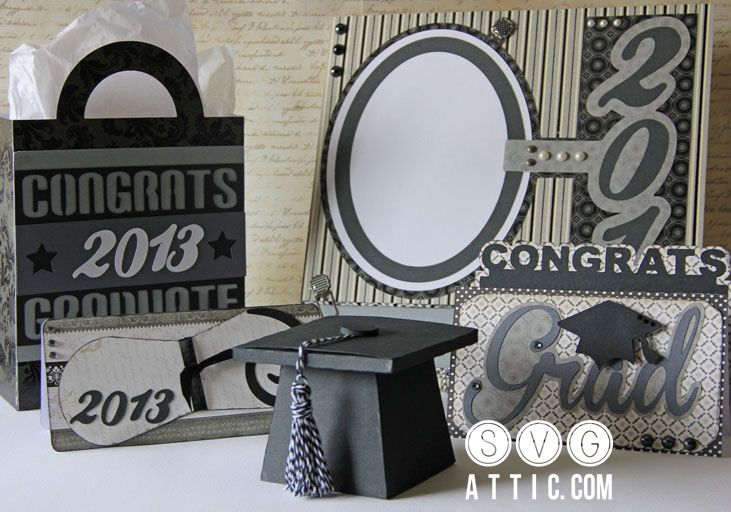
Some graduation parties are still going and there are sure to be more in everyone's future and SVG Attic has the perfect set to make the card to give. The set is Hat's Off and I made two cards using the money holder card.
The colors I chose to use are the graduates' school colors and I left the top inside panel blank so I could right each graduate a personal message. I love the way the kids are going to have to rip open the card to get their money out. How cool is that! You assemble the card, stick the money in and then just glue the very edge.
This is only one of the cards to the set plus there are other great things to help the graduate help celebrate his/her special day.
There are a lot more cute cutting files at SVG Attic and a new freebie up in the store called Make a Wish!
 | |||
| outside of card |
 | ||
| inside of card |
 | |
| outside of card |
 | ||
| inside of card |
This is only one of the cards to the set plus there are other great things to help the graduate help celebrate his/her special day.
There are a lot more cute cutting files at SVG Attic and a new freebie up in the store called Make a Wish!
Sunday, July 7, 2013
Happy Birthday Krazy Crafting Crew
Happy, Happy birthday to the Krazy Crafting Crew on one full year of hopping! We look forward to seeing what you have in store the next year.
I would like to take a moment to say thank you to Lissa Marie, our hostess and the lady who has kept this group going. She stepped in a year ago to help the person who started this group and she started running with the hops and never looked back. Awesome job Lissa!
Now on with my project. I had a fun time putting this together but it took some time. I had it figured, for the most part in my mind but had to get it cut out and glued down.
The digital stamp is from Dearie Dolls Digis and I used my Prismacolor colored pencils to color it. I then used my Sizzix and the Basic Shapes cartridge to cut the frame. As you can see, I used my Exacto knife to cut around the balloons so I could layer them on top of the frame while the car and clown are in the frame. I also used my Exacto knife to cut out the flyers that say Happy B-Day on them and then used foam adhesive to raise them. The striped background paper, which I absolutely love, is Graphic 45 Le Cirque Collection paper. I also used chalk to color the background of the digi and chalk ink to ink the edges.
Thank you so much for joining us today and now onto Jessi
Complete Line Up
Your Hostess:
Lissa Marie So many crafts, so little time!
Katina Martinez Loving Life's Little Blessings
Lucy ~ Love 2 Create it all
Janet ~ Janet's Creative World
Ellen ~ Card Monkey's Paper Jungle
Lori ~ Scrappin' my stress away
Liz ~ Tryin' to Craft
Miranda ~ Nana’s Scrap Spot
Robin Lane ~ Create-a-Latte
Pam ~ Scrapple Tree
Cicily ~ Pink Dalmatian Scrapper
Jearise ~ Lorby's World
Jessi ~ My Life in Arts n Crafts
Robin Scott ~ Scrap and Chat
Zenita ~ Scrappin' with Z
Wednesday, July 3, 2013
Red, White and Blue Stamping Chef Challenge
The new challenge for The Stamping Chef is up and going and we hope you can join us this month. It's always a lot of fun to join the challenges and to see what others have made including our design team so head on over to the The Stamping Chef blog.
Here is my Red, White and Blue Challenge design team project.
Become a FACEBOOK fan and experience more cool things from The Stamping Chef.
Here is my Red, White and Blue Challenge design team project.
The Stamping Chef store has so many stamps to chose from you'll have a hard time deciding.
Become a FACEBOOK fan and experience more cool things from The Stamping Chef.
Vintage 4th for Cutter's Creek
Well tomorrow we celebrate America's Independence Day and so to show my love for America and for vintage cards, I made this vintage 4th of July card.
This card was easy to make and I like the way the look turned out in the end. I used Graphic 45 (Le Cirque Collection) paper for the striped background. I then used a blue designed 6 x 6 sheet from Echo Park's For the Record 2 pad (Email Kim if interested) for the middle and finally I used used Bazzill paper (Email Kim if interested) to stamp my generic design on.
To get my vintage look, I used Tim Holtz Ranger Distress Ink in frayed burlap and inked the edges and ran the pad across the surface of my bottom and middle. I then used my finger to smudge the ink and to lesson it's color. For the stamped middle, I used Tim Holtz Ranger Distress markers (Email Kim if interested) to color a acrylic stamp. Once the image was stamped, I sprayed it with Perfect Pearls Mist in heirloom gold. Finally, I layered my card using my ATG tape and gun and added the peals for something a little extra.
Background paper is a freebie from Decosse's Deynamite Doodles.
Happy 4th of July everyone!
July Challenge for Miriam's Crafting Supplies
is buttons. Buttons aren't just for shirts and pants anymore. They are to get creative with and this month we at Miriam's Crafting Supplies want to see what you come up with using buttons. Use them on a card, layout, home improvement project or whatever you can think of.
I have a little inspirations here for you now.
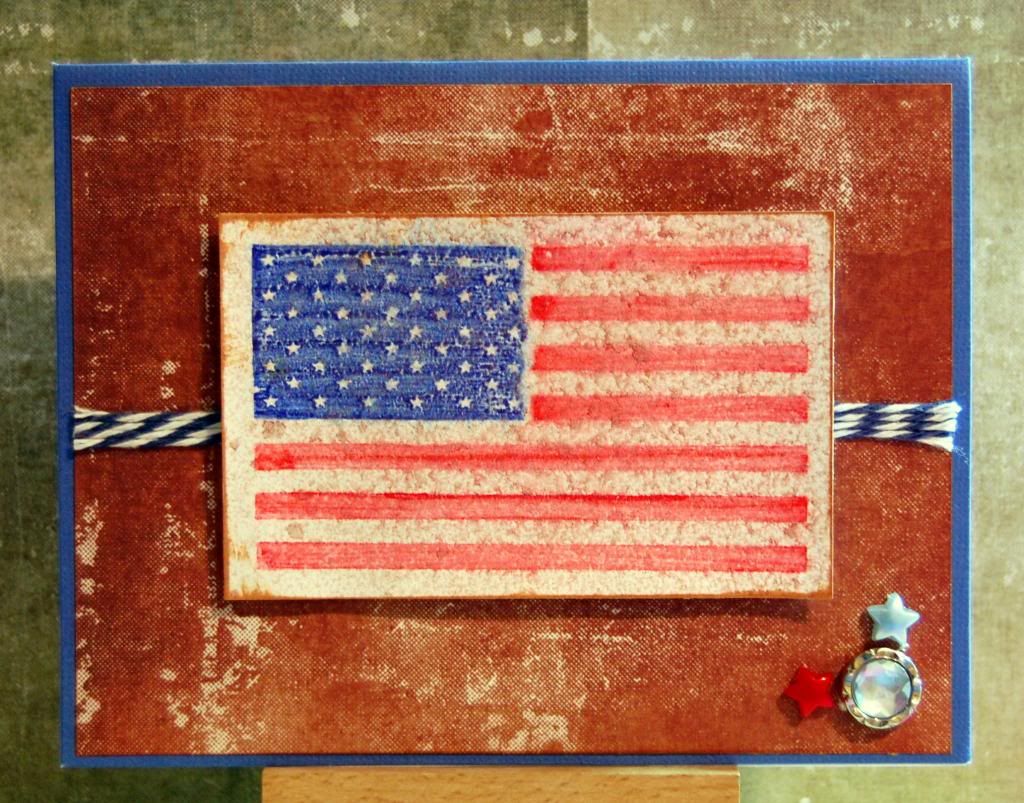
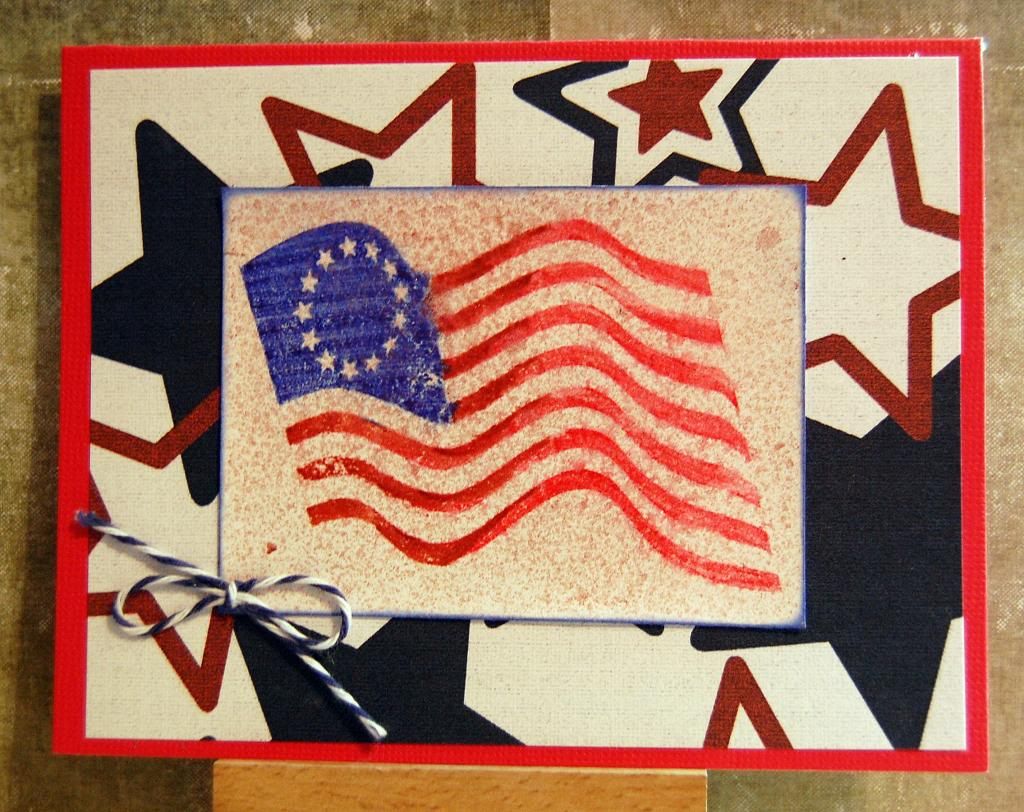
This is a 4th of July vintage card I made. Yes, I do send out 4th of July cards. I use them as note cards to friends and family. I love the way the flag turned out and am going to have to do a tutorial on how to get that look. It took me a few tries myself. :)
Close up of button and stars which are also from Miriam's.
There is a lot more over at Miriam's Crafting Supplies blog from all the great DT members so check it out, then set to work and join our challenge. There is always a nice prize waiting for one lucky winner each month.
All the rules are listed on the challenge page and don't forget to check out Miriam's Crafting Supply on-line store where you will find the lowest prices around on buttons, half pearls, rhinestones and charms plus a whole lot more.
Monday, July 1, 2013
A special thank you and July hop winner announced.
Before I get to the winner of the "June is Bustin' Out with Flowers" blog hop, I have to give a big shout out to Lisa at Decosse's Dynamite Doodles and the awesome 4th of July digital paper she made for me and you. :)
This is such a nice story that I have got to share...
I was searching the web the other day looking for FREE (because I'm cheap) digital paper with a 4th of July theme. In my search, I came across Lisa's blog and even though she didn't have any 4th of July paper she did have awesome digital graduation words (click here to see it and download it). I thought her stuff was so awesome that I left her a comment and told her of my fruitless plight.
Well, the next thing I know I get this very sweet email letting me know that she had read my comment, thought about it, and designed a 4th of July paper. They all have red and blue stars but different textured backgrounds so they are very versatile. She also created a maple leaf digital paper for Canada Day.
I thought this such a sweet gesture that I made a card to show the digital paper and here it is.
The stamp is from Oriental Trading and I used my Ranger Distress ink markers to color each section before stamping. I then sprayed with red glimmer mist and added a blue and white bow with twine from My Life in Arts N Crafts. Click on the image to get a better look at the paper and to see the background texture.
Thank you again Lisa.
Now on to our winner...
I hear a drum roll playing
The winner, picked by random.org, is #7 - Jamie M. who wrote:
"Pretty. Great embellishments."
Thank you all for joining us this month at Lorby's World of Hops and we look forward to seeing you on Thursday, July 25th when our theme will be GLITTER!
If anyone is interested in joining our July hop or seeing what other hops we'll be doing this year, please join us at Lorby's World of Hops on Facebook.
Challenges I have entered:
Craft Your Passion Challenges - Challenge 169 ~ Red,White & Blue (ends Sunday)
Get Inky Challenge - Challenge 7: Red, White, and Blue (ends July 5th)
Make It Monday - #147 with Saturated Canary (ends in 5 days)
Paper Playtime - Challenge #13 Red, White and Blue (ends Sunday)
Chalk N Stock July Challenge
Another wonderful challenge starts today at Chalk N Stock and the theme is always "Anything Goes" as long as you use some type of chalk on your project.
Here is my dt creation for the challenge...
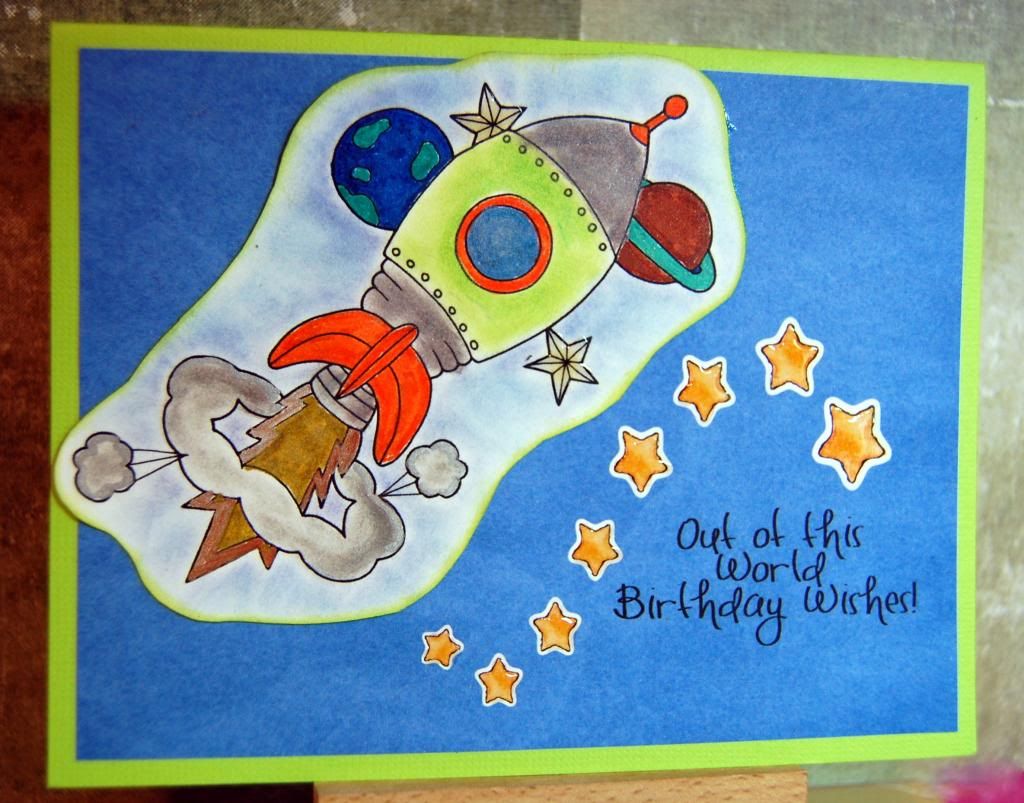
I needed some boy birthday cards and this rocket from The Stamping Chef is absolutely perfect for a little boy. I used regular chalks on the sky, grey smoke and green rocket and I used grey metallic chalk for the grey parts of the rocket. I created the digital paper for the background and I used Glossy Accents on all the stars.
I look forward to see where you use chalk on your projects so don't forget to join us at Chalk N Stock for our July Challenge.
Subscribe to:
Comments (Atom)
