Friday, December 16, 2016

Last Minute Gifts

Welcome to the Last Minute Gifts Blog Hop!  You should have arrived from Lisa.  If you are lost this is the beginning Alicia's blog.  As we approach the holiday season, I am sure we are all scrambling to find unique gift ideas. We hope as you hop along you are inspired by each bloggers ideas.

First, we would like to say a HUGE THANKS to our sponsor today.


Theresa is giving away a $20 Stampin' Up Gift Certificate to one lucky winner AND
take 10% off any order placed through her (not available on website) by December 31th. 
Email her at scrapsbygracie AT gmail.com with your order. 

All you have to do to win this fabulous prize is comment on each of the blogs.
That's it! It really is easy.  
Of course, we would love it if you became a follower too. 

Comment buttons can be found at the bottom of the post (on most of the blogs).
Now on with the hop!

  This picture was taken with the lights on so you can see the real color of the wood frame. 
This picture was taken with all the lights off so the frame looks black but it's not!

Recipe for making this gift...
I wanted to pick a more difficult project and here it is. I have seen these all over the web and have wanted to make one for now. The shadow box and bells came from  Michaels. The paper is some I just had lying around from Cosmo Cricket. I don't even know where I got it or how long I've had it but it was perfect for my background. The words "Jingle Bells" are from the Cricut Cartridge "The Holly and the Ivy". I saw the cartridge and just had to buy it to have the words I love the font so much. I used black indoor vinyl for the words and they are on the outside of the shadow box. Finally, I decided to add some lighting using fairy lights. I used hot glue to glue them around the inside frame.

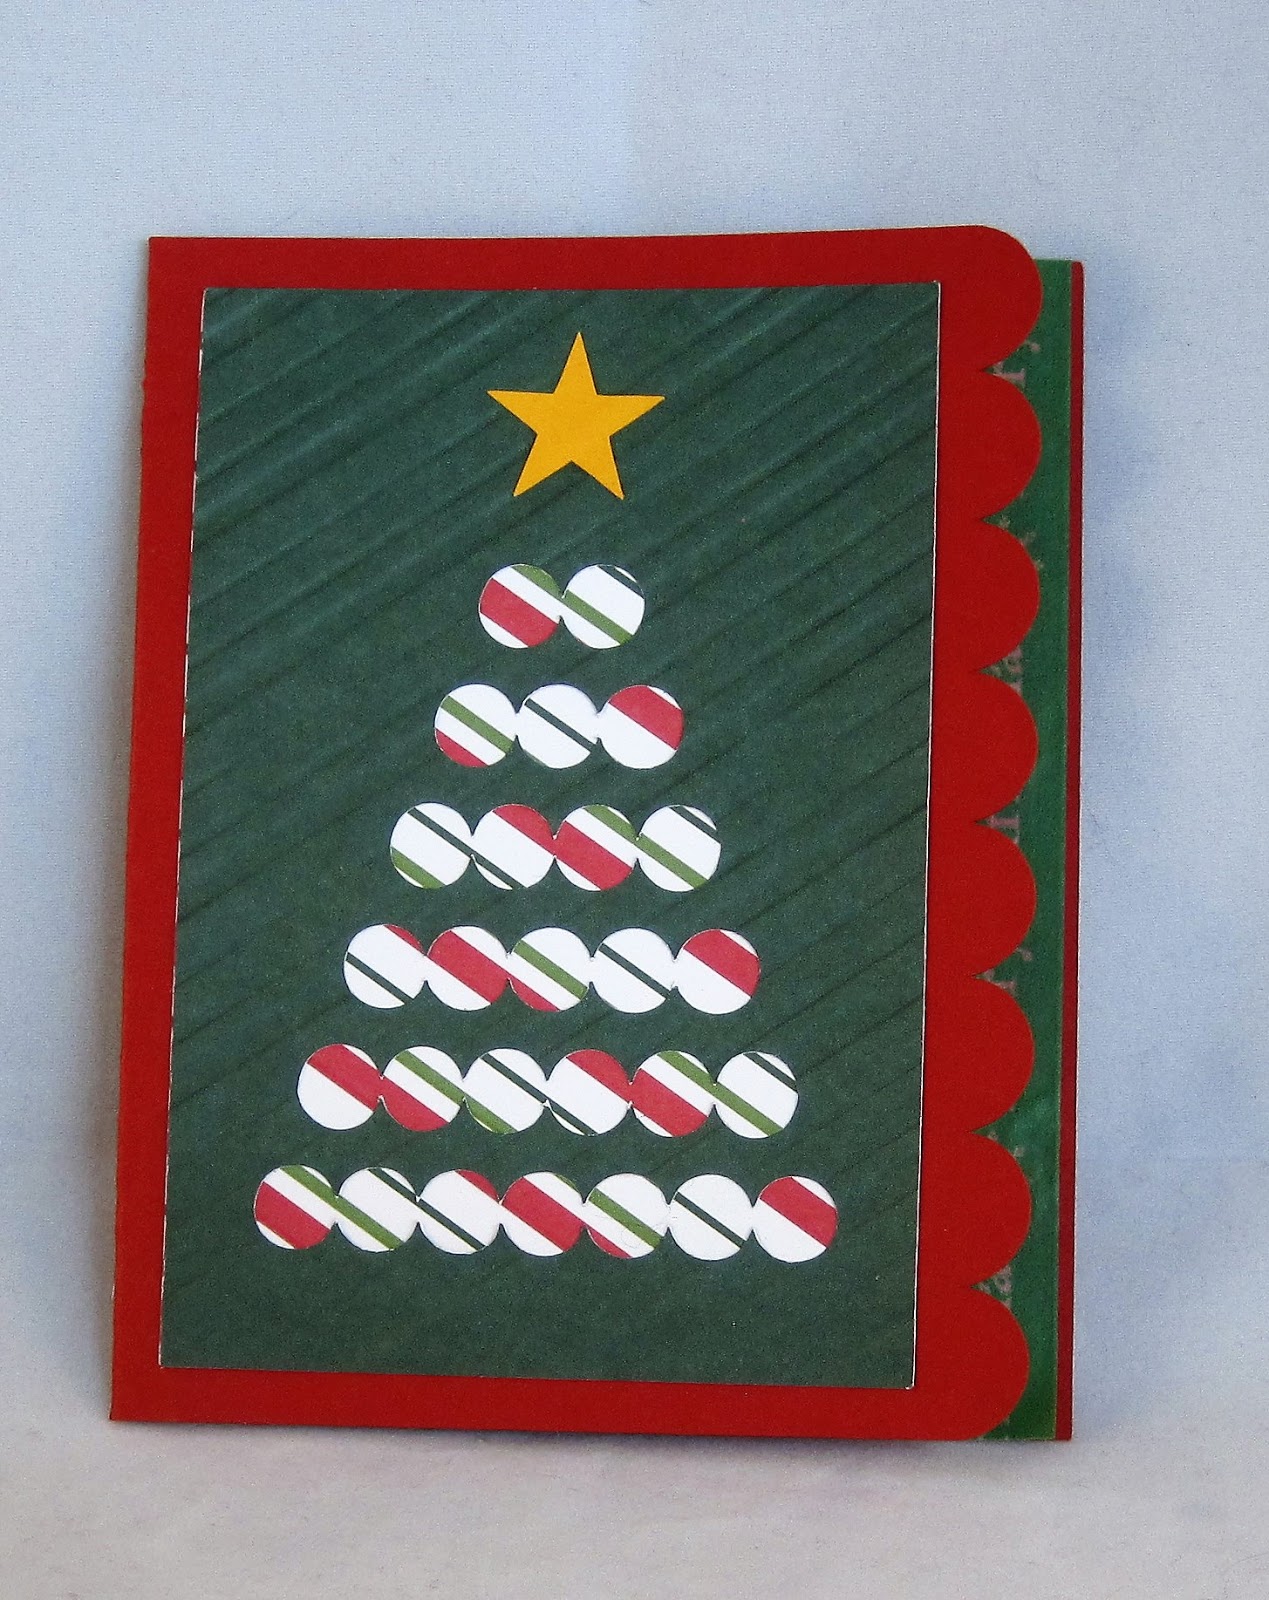
Next up a play on glitter bulbs and vinyl...


These were done where I used Pledge Floor Care to get glitter to stick to the inside of the bulb. I do get a few runs but nothing that is noticeable once the vinyl is on.

I experimented with the pencil fish on the green bulb. I layered the black stripes before putting it on the bulb. I added the white eye after I had adhered it to the bulb. I really don't know which one works best. They both seemed to work.

Now here is a new take on the glitter bulb...


I got thinking that what do you do if you don't have a cutting machine or you don't want to invest in vinyl but yet you like the glitter ornaments. Here is my take on that that can save time and money.

Glitter the inside of the ornament in your favorite color. I used Martha Stewart glitter for this one. I don't have the color name handy but I think it's copper.


Next, take some pre-made flowers or make your own like I did. I added Glitter Mist to mine to give them color and sparkle but you can't see that in the picture very well. I added half pearls and a sweet dragonfly charm with my handy dandy glue gun.

I hope I gave you a few ideas to inspire you for those last minute gifts or for that hard to buy for friend or family member.


If you get lost along the way, here is the entire lineup:
Card A Day Challenge blog ~ http://cardadaychallenge.blogspot.com/

Friday, December 9, 2016

Year of Card Techniques - December

Here is the link for the Holiday Magic Blog Hop.


Can you believe it's month twelve of a Year of Card Techniques?

Here are the links in case you missed a month:
January February March April May 
June July August September October November 

Be sure you've hopped and commented on each month for your chance to win a $25 gift certificate to Stampin Up or Blitsy.com. (Winner's Choice)

This last month of the year we are focusing all our attention on metallics, whether it's foil, embossing powder, inks or cardstock, anything metallic (gold or silver and copper too!) and since it's December we just had to make it holiday. 

Now on with the projects. 


I had a light bulb go on with this project. I was wrapping gifts with my daughter and she loved this wrapping paper because it has penguins on it and it has a silver background like tinfoil. I used it to wrap her gifts with and then got the bright idea of using the scraps to make her December birthday card with and other Christmas cards. 

Recipe for cards:

I used my sizzix dies to cut out the center of the scrapbooking paper with the swirls on it. I used a little bigger die with the same design to center and cut out the wrapping paper penguin picture. I could have just cut a square around the penguin big enough to glue/tape it in the cutout. Before assembling it, I used my Glitter Mists in red to give the card a little more sparkle. :) I put the penguin inside and attached it to my cardstock and then I went through my charms and pre-made flowers and finally found my holiday twine for the bow. 


This is a close up of the flower and twine bow I added and you can sort of see the cherry red glitter mist on the background paper.

Here are just the regular Christmas cards I made using this wrapping paper.


Then I got creative with scraps and made Christmas tags.

This tag has fall paper that was scrap. I started playing with my hole puncher and this tag is what happened. The star has been lying around for years in my craft room and I've almost thrown it away a few times. Glad I didn't. 

The washi tape is gold foil on this tag. The little blue square paper is actually orgami paper and the Santa sticker is again something that has been lying around in my craft room for years and needed to get used or thrown away. 

 Finally, a little fun with this last tag. I am on the design team for Chalk N Stock and each month we get digital stamps from Bugaboo stamps and this was one of them. I used colored pencils to color my shopper but then used silver glitter glue on her fur accents and gold Liquid Pearls for her earrings. My husband will be getting this tag on his gift. LOL

Now for my last card. This card was made using another scrap left over from my Thanksgiving/fall projects. I loved the foil leaf paper so much I just couldn't throw the scraps away and I'm so glad I didn't. The center part is a cut and emboss from either Sizzix or Cuttlebug. I made it so long ago that I can't remember or find the embossing folder I used. I used green glitter glue on the holly leaves and gold Washi tape at the bottom of the card. Even though this card was simple to make, it's my favorite.

Thanks for stopping by and now to hop over to Sharon's blog


Today's Lineup:
Theresa 

Lisa 
Kim
Jearise
Sharon
Claudia 
Amanda
Debbie

Holiday Magic Blog Hop

Here is the link for the "Year of Cards" Techniques blog hop.

Welcome to the 
Holiday Magic Blog Hop
Thank you for joining us for a weekend full of the magic of the Christmas Holidays! Our talented crafters have created all sorts of projects to inspire you and bring the joy of the season into your hearts!

You should have arrived from Sharon
If you just happened upon this magical hop, Connie Can Crop is the first stop in this hop. 

This is a one day blog hop and we appreciate you leaving a comment for all of these amazing crafters.


We have an awesome sponsor for this month! 


One lucky winner will win a $21.00 gift certificate to the Bugaboo digital stamp shop to shop their awesome products.
Be sure to visit them online here.
And their blog here.


What do you need to do to win? Easy... become  a follower of each of the fabulous blogs in this hop and leave each of them a comment letting them know what you like best about their projects.

You will have until 10 pm Sunday to finish the hop and leave your comments.
Winner will be announced on Wednesday 12/14/16
Be sure to follow everyone and leave a comment along the way!

**********************************

These cards were all quick and simple. I made them using the Cricut Creative Holiday Cards cartridge. Cricut posts cuts each week that you can use for free during that week and these were the ones posted a few weeks back. I make at least 40 cards each year to send to the VA home, so this was a quick and simple way to do it.

I used my embossing folders to emboss the deer and the poinsettia. 


This tree card was made by using double sided paper. The paper has an already embossed design on it and was solid green on one side and green and red striped on the other.


 A touch of glitter glue to add accent to the stockings.


A touch of Liquid Pearls in silver to the ornament tops.


This is a card I just decided to put together. I rescued the flowers off an old card I had made and decided to throw away. I made all the flowers on this card. I love making paper flowers!


I'm not the world's best drawer but every once in awhile I'll try to get artistic. I drew this weird shaped sled a few years back and colored it using colored pencils. It's been sitting in a pile of extras stickers and digital stamps and I decided to finally add it to a card to give a quirky holiday look.


  Thank you for taking the time to go through all my cards and read about them. Merry Christmas to you and yours and all the best in the coming new year!

Up next is Sarah.

Here's our line up in case you get lost:

Connie- http://conniecancrop.blogspot.com/
Shannon H- http://shannonhdesigns.blogspot.com/...
Angela- mermaidsnmonograms.blogspot.com
Christi- https://tranquility1905.blogspot.com/...
Sue- http://suek86401.blogspot.com/
Holli- sunflowerholli.blogspot.com
Ashley-  http://marinewifesscrappinlife.blogspot.com/...
Diana- http://daisylovecreations.blogspot.com/...
Kim- http://katydidcards.com/
Veronica- http://vickyscrappingpassion.blogspot.com/...
Amanda- salnclts76.blogspot.com
Miranda- http://www.nanasscrapspot.com/
Sandy-  http://simplycraftycreationsbysandys.blogspot.com/...
Lisa- http://lisaslittlerascals.blogspot.com/...
Alicia- http://goldengoddessdesigns.blogspot.com/
Sharon- http://piece-ofheart.blogspot.com/
Jearise- http://lorbysworld.blogspot.com/
Sarah-  http://sarahbiswabic.blogspot.com/

Wishing you all a very Merry Christmas!!!

And don't forget to check out the this month's challenge!!
Connie Can Crop Challenge #53
due 11:59 P.M. Saturday, December 31st
Pacific Time