Showing posts with label Christmas. Show all posts

Tuesday, December 27, 2011

SVG attic gift card holders


Aren't these little gift card holders adorable? They are so useful the whole year through and the svg files for them are available at SVG attic. I made mine with Christmas in mind but you can use these for anniversaries or birthdays also. They are cut from the file
While the adorable little snow girl came from the file: 
I cut each box at different settings so one is bigger than the other. The settings for the smaller box which go with the Sizzix, eClips and eSCAL are: outside cut W 5.286 inches and H 9.130 inches; inside cut W 4.325 inches and H 6.727 inches; inside tag W 4.069 and H 7.579 and the bottom, middle and stamp area are W 2.422 and H 1.211 with the rosette being cut at W 3.00 by 11.250. I used only two strips for my rosette but I would break apart the strips and add a third one next time.
Here are move views of the boxes...

 The bigger box not only holds the gift card but also the cardboard backing it is attached to.

The small box just holds the gift card.

Both files are available at SVG attic

Hope you all had a wonderful Christmas. Jearise in Lorby's World.

Thursday, December 1, 2011

Christmas Joy Layout using SVGAttic files

Click for  GIRLIE GIRL BLOG HOP 

Please I am just so excited this morning! Why, you ask? I am one of the newest members of the design team for SVGAttic. I love their files and they work great on both my Cricut Expression and my Sizzix eClips. The newest version of SCAL (eSCAL) which is for the eClips, arrived on my doorstop on Monday.

The December challenge at SVG attic is asking that us crafters get creative with the colors: red/green/pink/blue and white. Head over to SVG attic see all the rules and to get in on the fun!

Here is my design team project...


The lovely ornaments and snowflakes come from the ALL THE TRIMMINGS at SVG attic. There is even an adorable penguin and a drum-a-rum-rum in the set plus more.

Bazzill cardstock in purple for the background
K&Company Wintertide paper for the ornaments, words, and second layer of the snowflakes
DCWV premium glitter stack was used for the top layer of the snowflakes which were cut at 4 inches, 3.5 inches, and 3 inches
Words "Christmas Joy" were TTF Frenchscript which I welded together in Inkscape and cut at 2 inches.

Stickles glitter was used for the middle of each snowflake and the design in each corner of each page
ColorBox ink in gold was used for the ornament top and around the outside edges of each ornament.
Thank you for stopping by today and if you have any questions or comments, please leave them. I love to hear from my followers and friends.

Jearise in Lorby's World

Saturday, November 5, 2011

Hello Kitty and Friends Blog Hop (Nov. 5th and 6th)

If you're looking for the "I'm Quackers About You" Blog Hop, please go here: Quackers
Hello everyone and welcome to the Hello Kitty Blog Hop! We have lots of FABULOUS projects and prizes for you today, so make sure you make a stop on every blog! This hop is a 2 day hop, so you have plenty of time to get through all of the blogs. If you've arrived here from Tammy's blog you're on the right track! If you're stopping by my blog today and want to start at the beginning, please visit Emily's blog
*********************************
Don't you just love Hello Kitty? I sure do and so does my almost 7 year old daughter who has bugged me to have a Hello Kitty themed birthday party December 6th. This blog hop was the perfect excuse to get me started on making her decorations instead of procrastinating till the last minute.
I got my Hello Kitty angel from Pudgy Bunny coloring pages. I converted it to an SVG file and added the embossed star instead of the flower she was holding. Disclaimer: I am allowed to use the coloring pages from Pudgy Bunny as long as I don't sell them or use the drawings for profit in any way.

The star is cut at 1 inch and embossed with Jeweled Gold by Stampendous! 

I used Studio G gold glitter glue on the wings and Martha Stewart red glitter glue for the belt and waist bow.

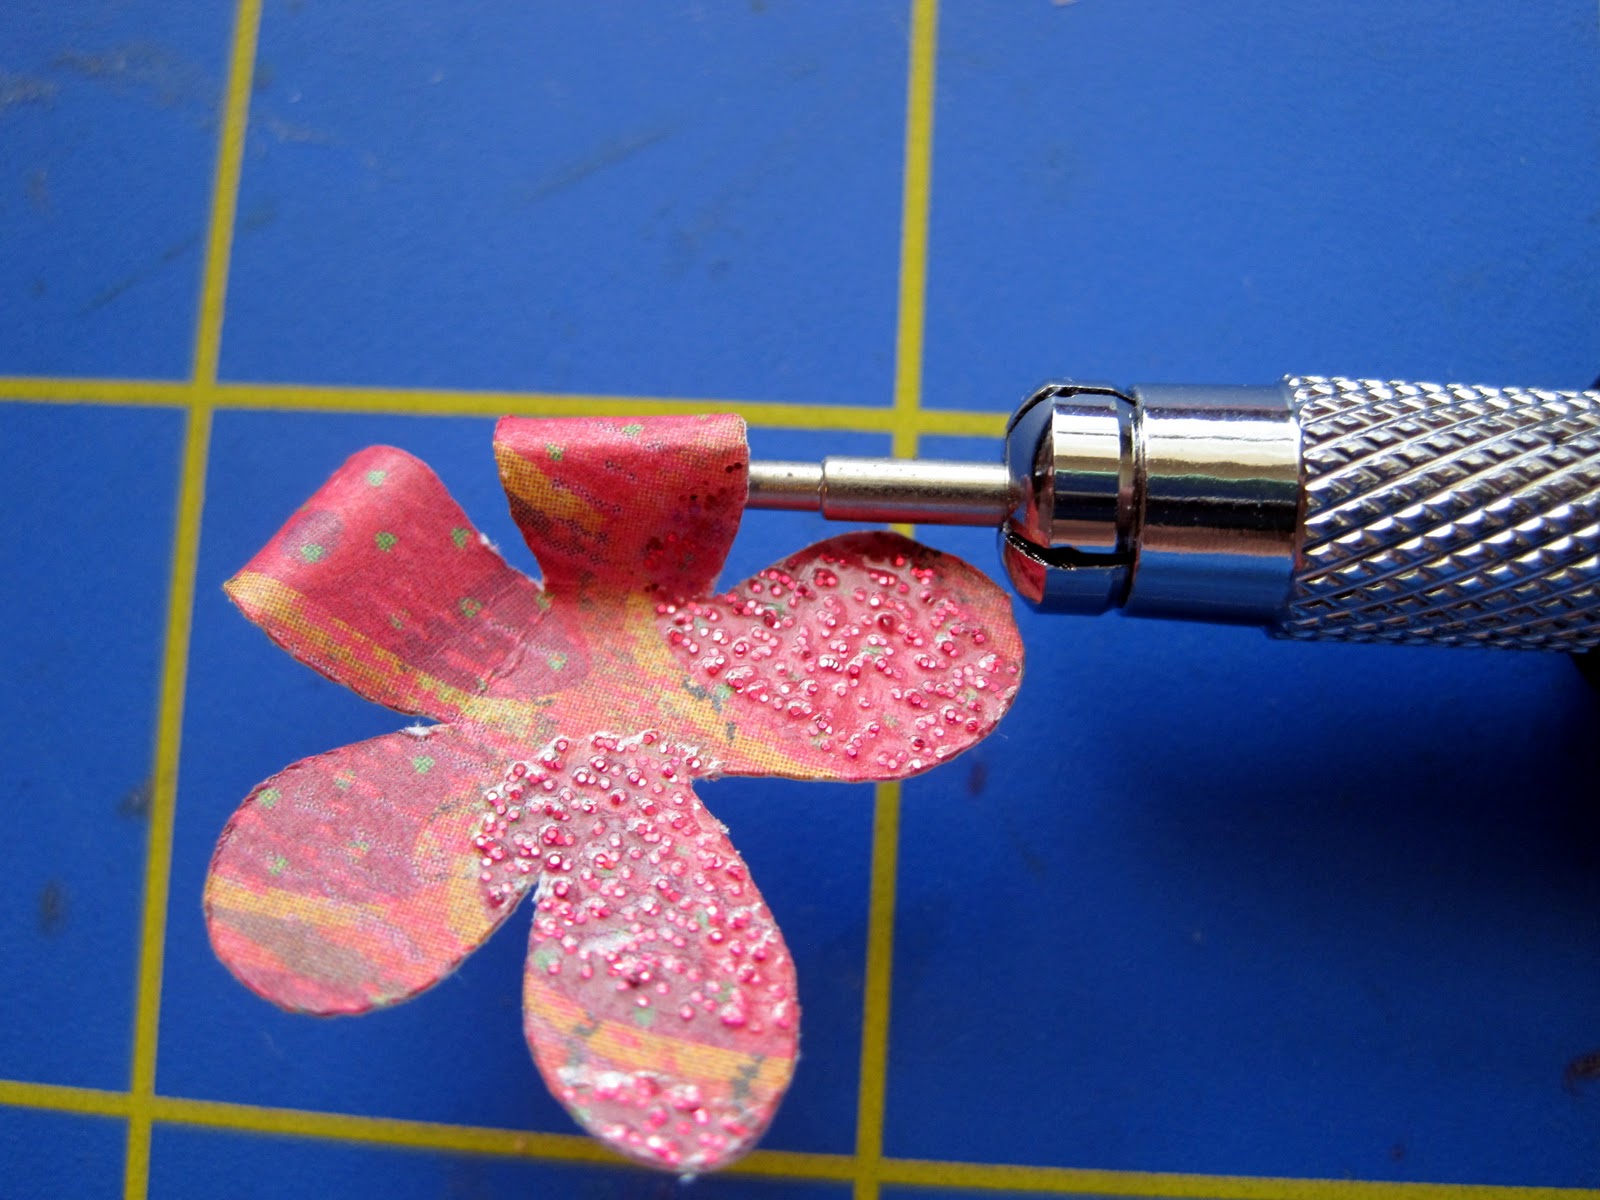
I loved making the flowers for Hello Kitty's hair. They are just a basic daisy cut with rolled pedals and layered. I added a few extra touches as you can see.


The rosette took some time but were well worth it. I used a Fiskers snowflake punch around the outside. I like to have my rosettes scored when I cut them out. I used a SVG file from SVGCuts entitled Vintage Rosettes and cut my plain rosettes at 9 x 11 inches.


I used paper clips to clip it together before gluing to make sure I had enough sections. I had three sections due to it's size. I used a low temp heat gun to glue it together.
Here is my hanging Hello Kitty one more time... 
 Thank you for looking today and please stop back tomorrow. Now trot on over to Ashley's Blog and remember to leave a comment at each and every blog along the way to be eligible for the grand prize drawing. Jearise in Lorby's World

Emily: http://www.createserendipity.net/
Dena : http://missdjones.blogspot.com/
Lisa : http://handmadewithlove-lisa.blogspot.com/
Jessica-Creative : http://thecreativestamperspot.blogspot.com/
Tammy : http://thepurplemuse.blogspot.com/
Jearise : http://lorbysworld.blogspot.com/
Ashley : http://theglamoroussideofscrapping.blogspot.com/
Lisa: http://prettypaperprettyribbons.blogspot.com/
Jenny: http://www.crazyaboutcricut.blogspot.com/
Bryan (SCRAPGUY) http://www.scrapguy.blogspot.com/
Lynne - http://slasewcraftiness.blogspot.com/
Anita http://www.anitaandbugs.blogspot.com/
Theresa ~
http://www.thescrapbookingqueen.com/2011/11/hello-kitty-and-friends-blog-hop.html
Candace - http://scrappin2littleprincesses.blogspot.com/
Libby: http://psastampcamp.blogspot.com/