Thursday, June 13, 2013

It's Gradutaion Time with SVG Attic

June is the month for graduation and graduation parties and SVG Attic has so quick, cute and easy graduation cards to make.

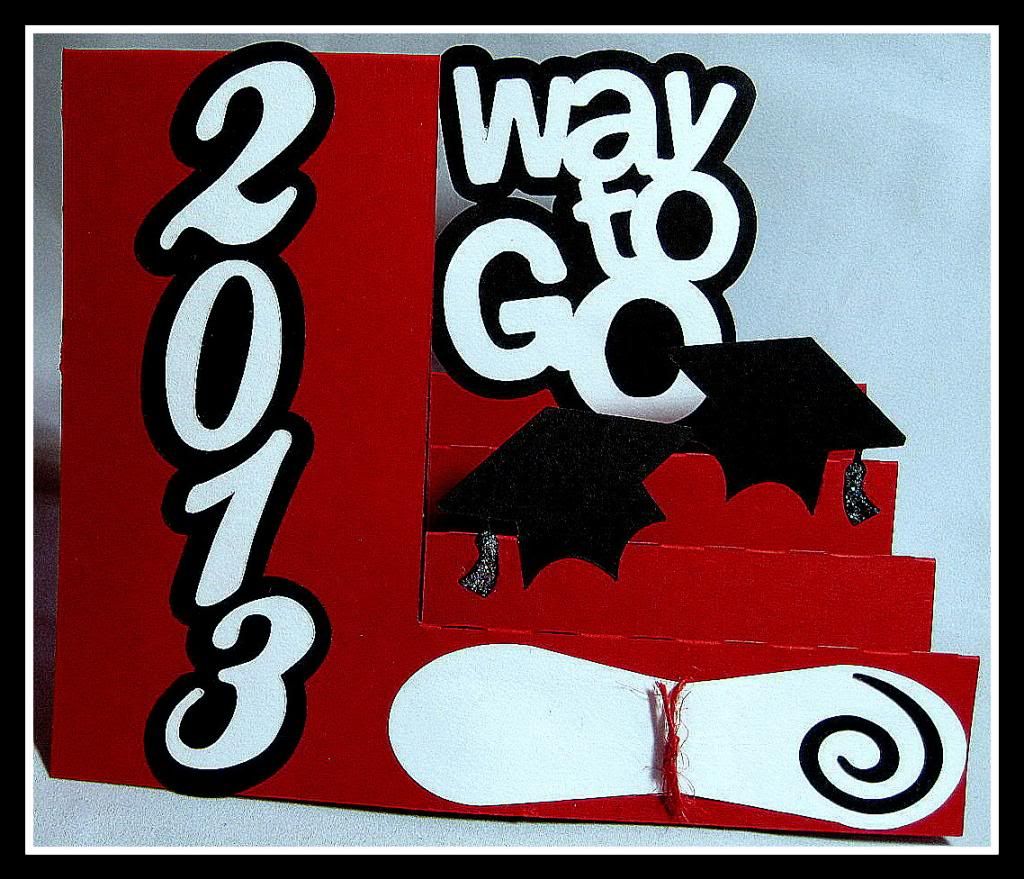
I had a graduation to go to this past week and whipped up this card on the fly. I used the school colors and since it was for a boy, I decided to not add all the extra bling. I love the clean lines of this STEP CARD.

I used the STEP CARD svg cutting file for the card base. The year, graduation caps, diploma and "Way to Go" all come from the HATS OFF svg cutting file.

Check out the files I used here today and all the other wonderful files at SVG Attic.

Wednesday, June 12, 2013

Masculine Card and Unique Technique

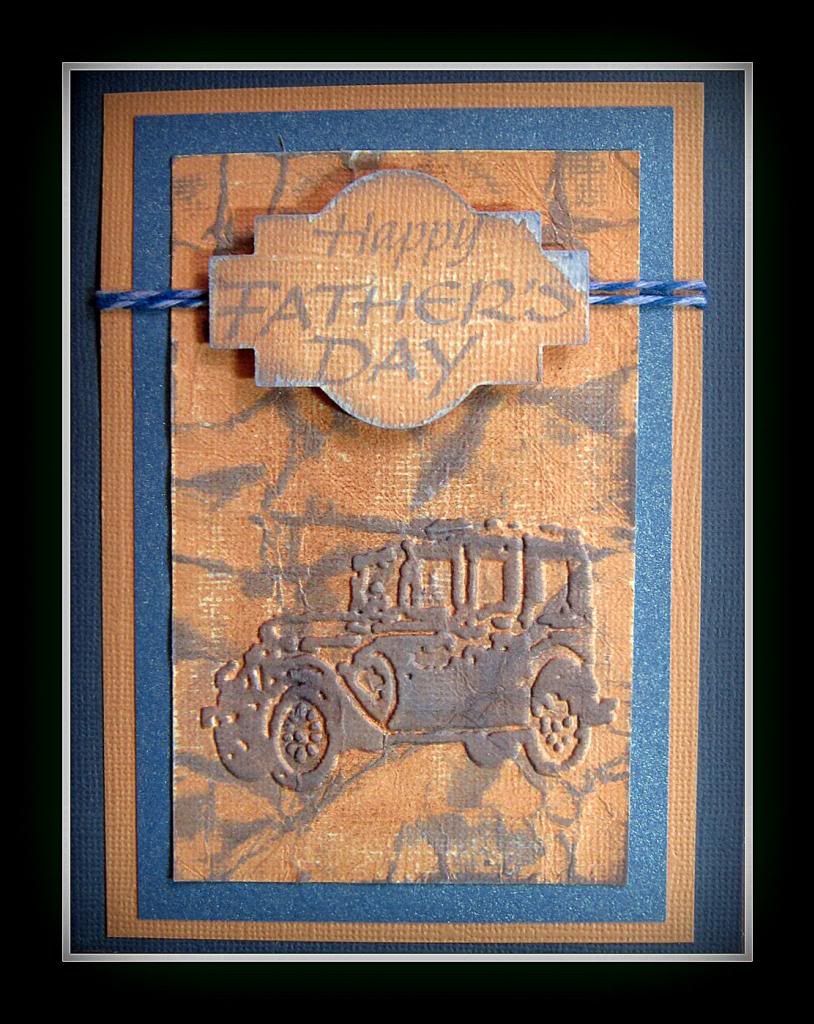
Today I made another Father's Day card but this time I used a fun and interesting technique. I'll start by showing my card I made and then I have included a tutorial as to how I did it. I hope you like it!

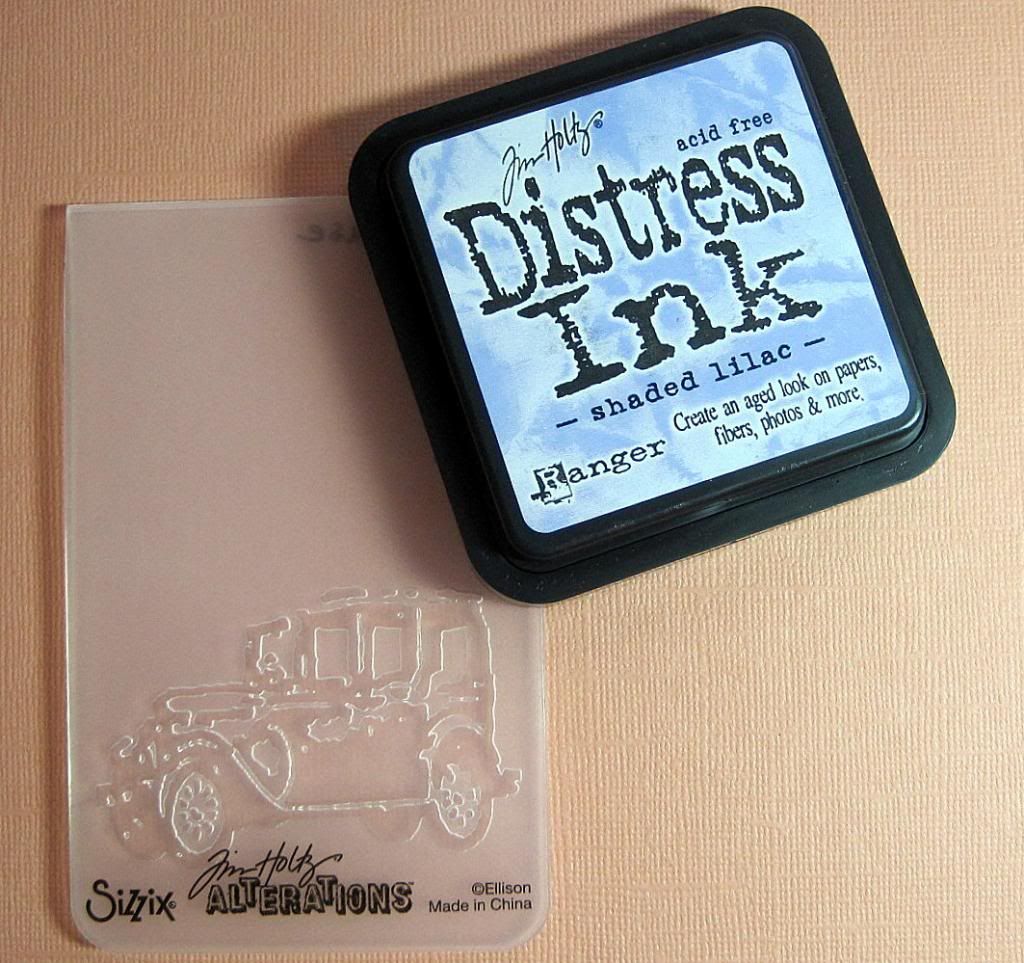
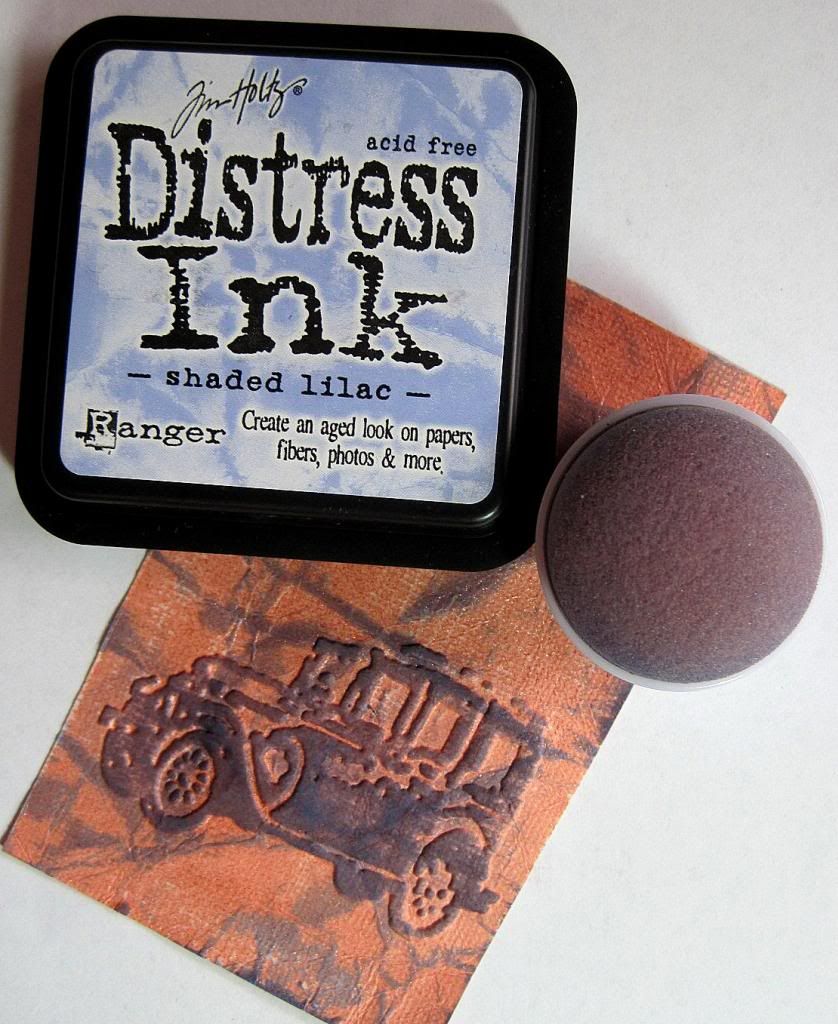
Here is a picture of three of the four things you'll need to make this card.
Tim Holtz Distress Ink in Shaded Lilac
Tim Holtz embossing folder for Sizzix
Core'dinations paper
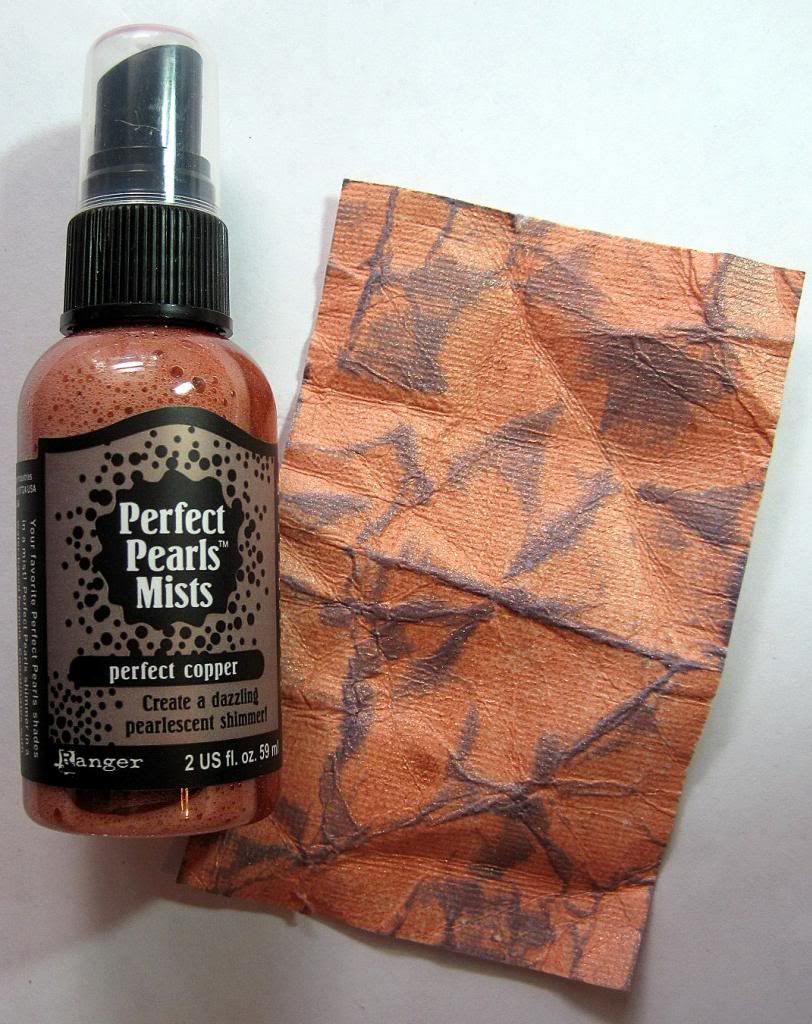
Perfect Pearls Mist

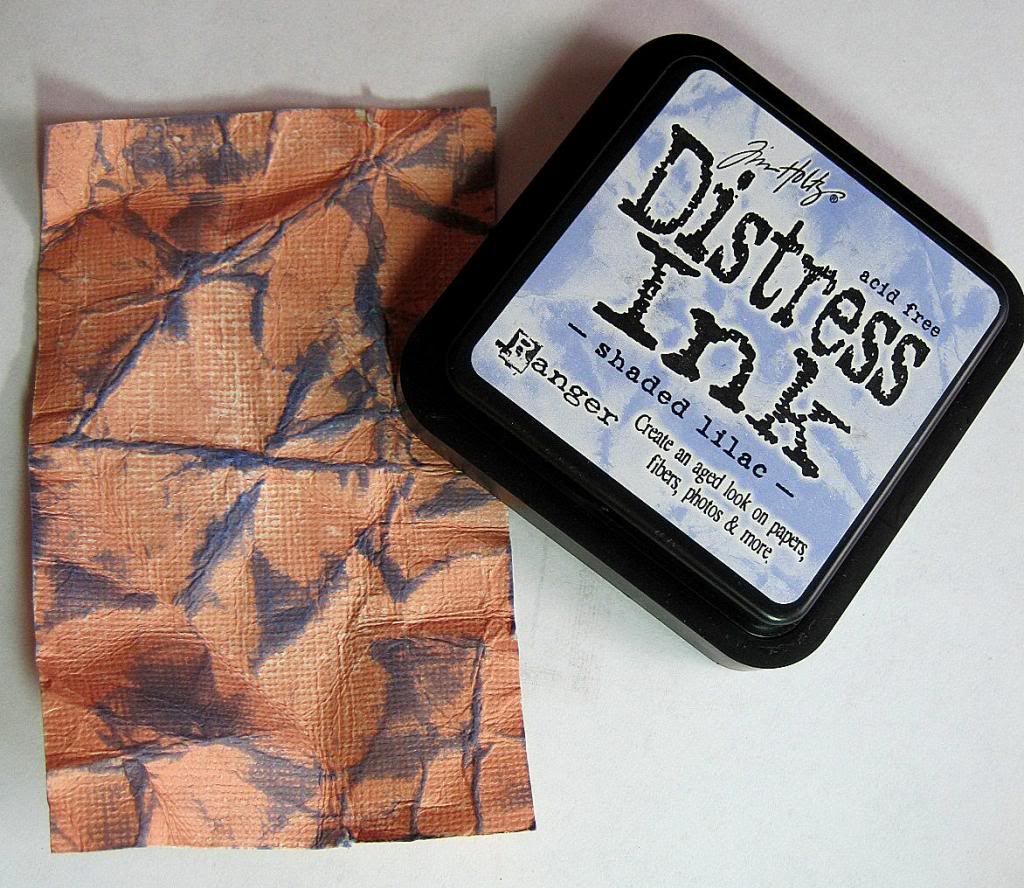
1. Sand and crumple the paper and then open it back up and lay as flat as possible
2. Gently run ink pad over paper so it just touches raised crinkled parts.
3. Spray paper with Perfect Pearls Mist.
4. Put paper in embossing folder and run through your Cuttlebug machine.

5. Take a sponge daubber and gently rub ink over just the embossed image.
And that's it!
I was going to have this as a birthday card but needed another Father's Day card and thought it would be perfect. I sanded and inked and stamped the sentiment and added some Doodle Twine. I thought the white stood out too much so I rubbed my twine on my ink pad to give it a soft shade of blue where the white is. Finally, I assembled the card with my ATG tape gun.

Thanks for stopping by today.


Monday, June 10, 2013

Vacation Challenge at Scrappy Frogs Challenge

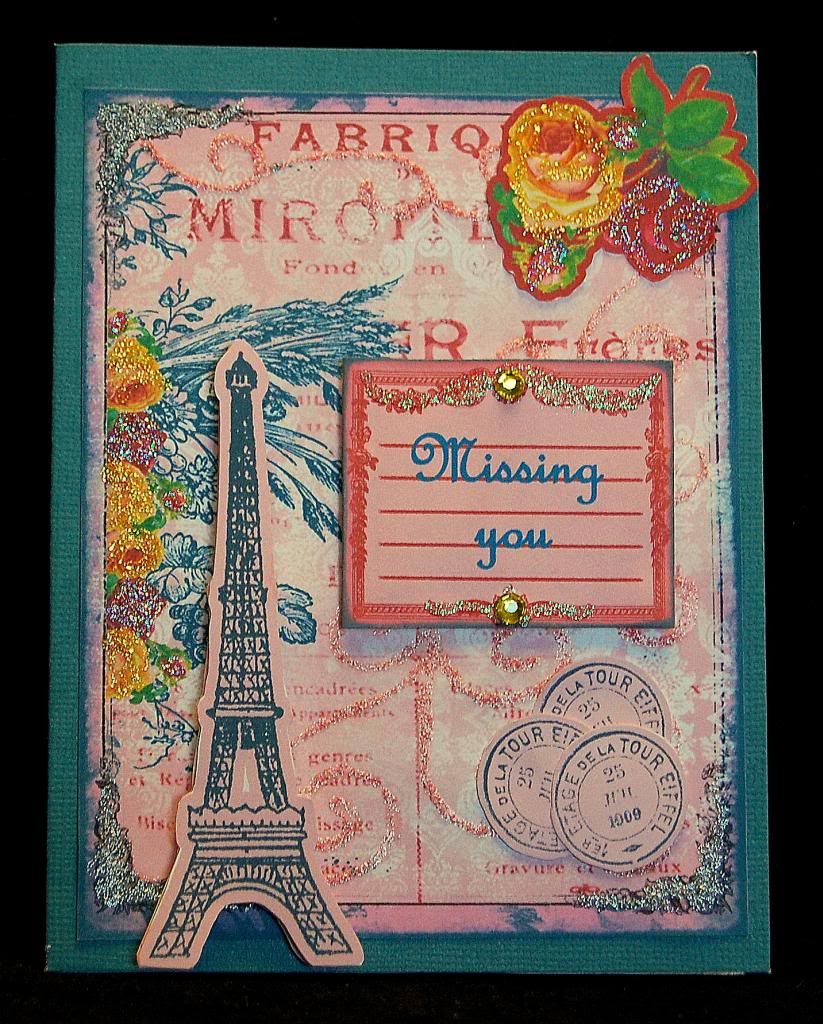
Our  new challenge here at Scrappy Frogs is all about Summer Vacation.  Do you have vacation plans this summer or do you have memories from a past vacation you want to showcase?  If so, come play along with us at Scrappy Frogs Challenge.

I love to travel and have found so many beautiful places in the United States alone and there are so many more places in this beautiful country to still visit that I will probably just drive and fly and visit places here for the rest of my life but if I could hop a plane and fly across the ocean for a vacation I would definitely head to France. Oh La La...

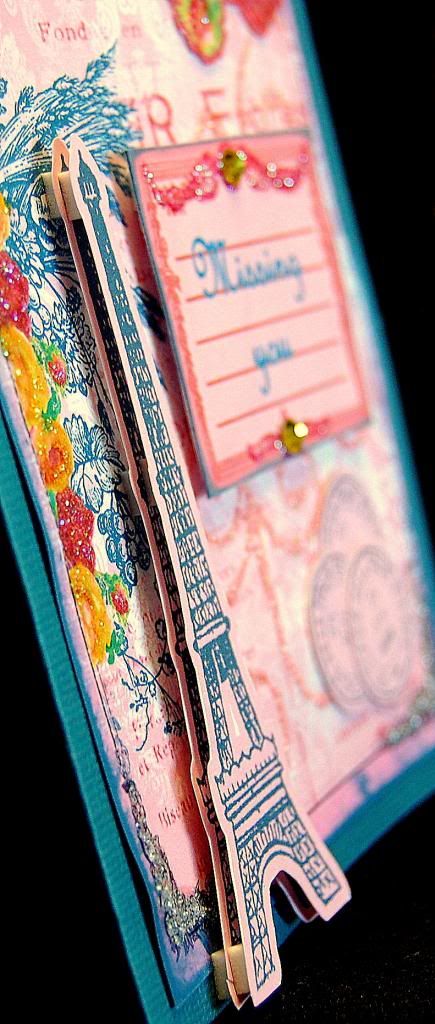
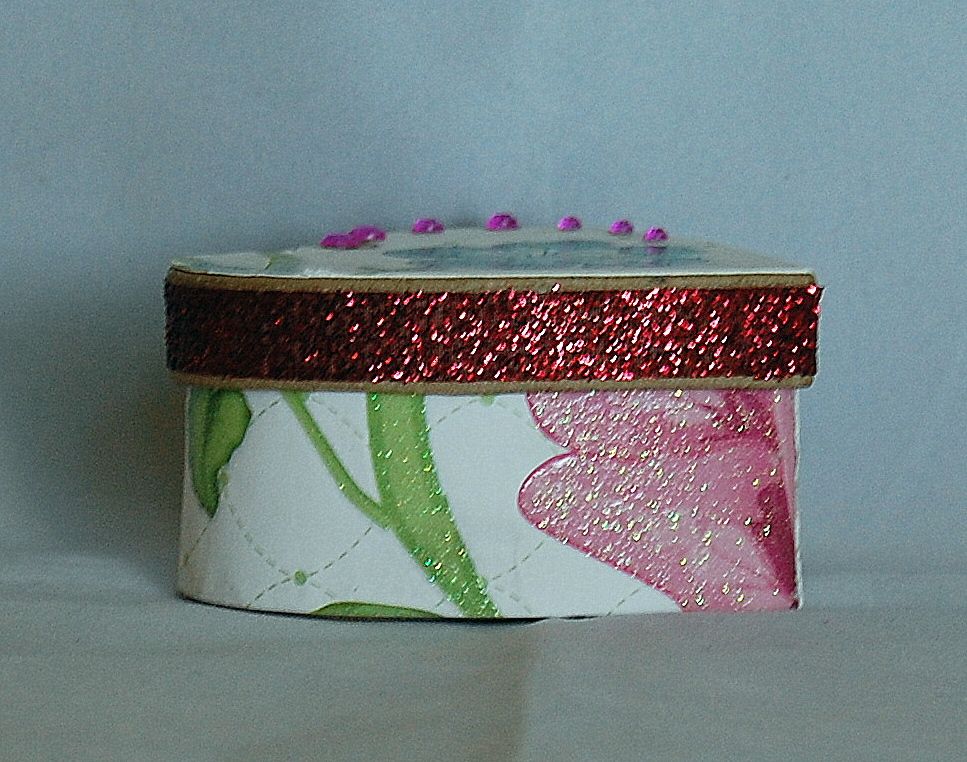
 Side View
The beautiful paper I used is from Tsunami Rose printable digital paper.

This challenge will run throughout the month of June so hurry on over and get more inspiration from the Scrappy Frogs Challenge design team and then link up!

Friday, June 7, 2013

Beautiful Christmas Ornaments

I know it's only June but that does only leave six more months before Christmas time again so it's never too early to get ready by making some simple yet beautiful Christmas ornaments.

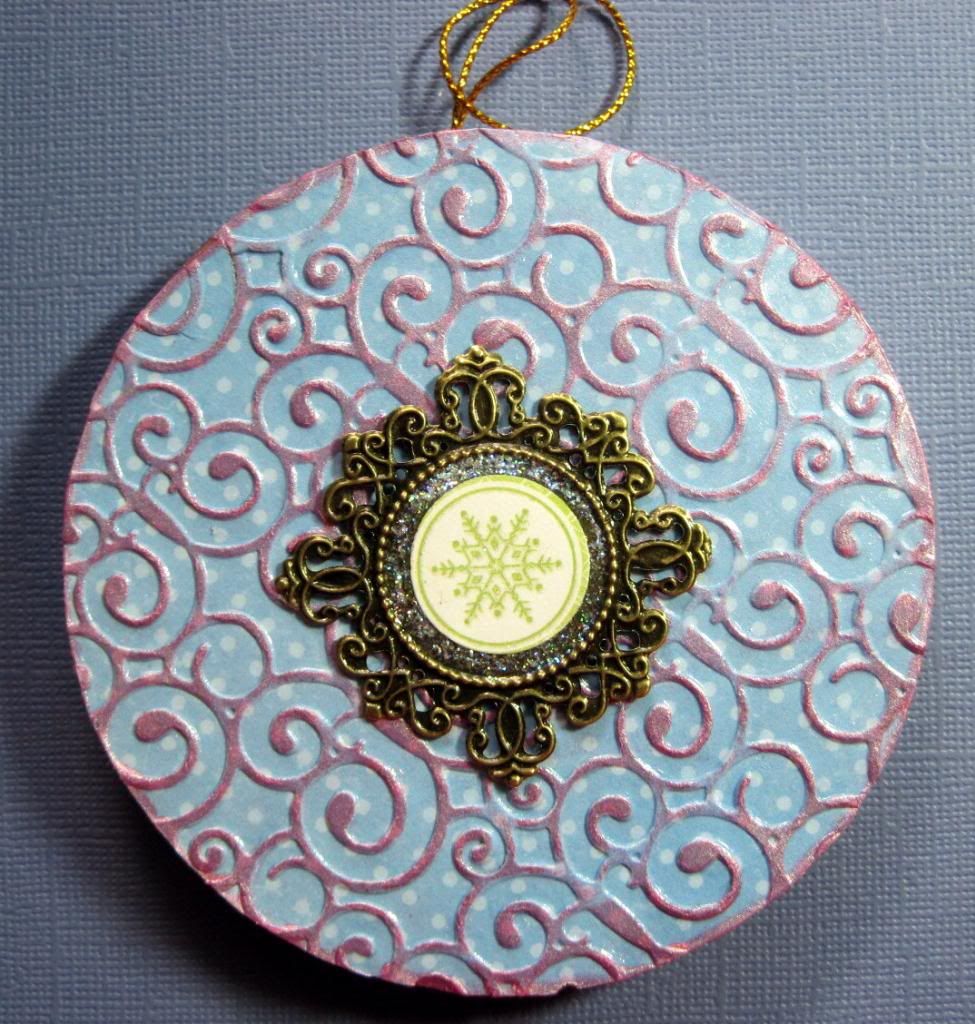
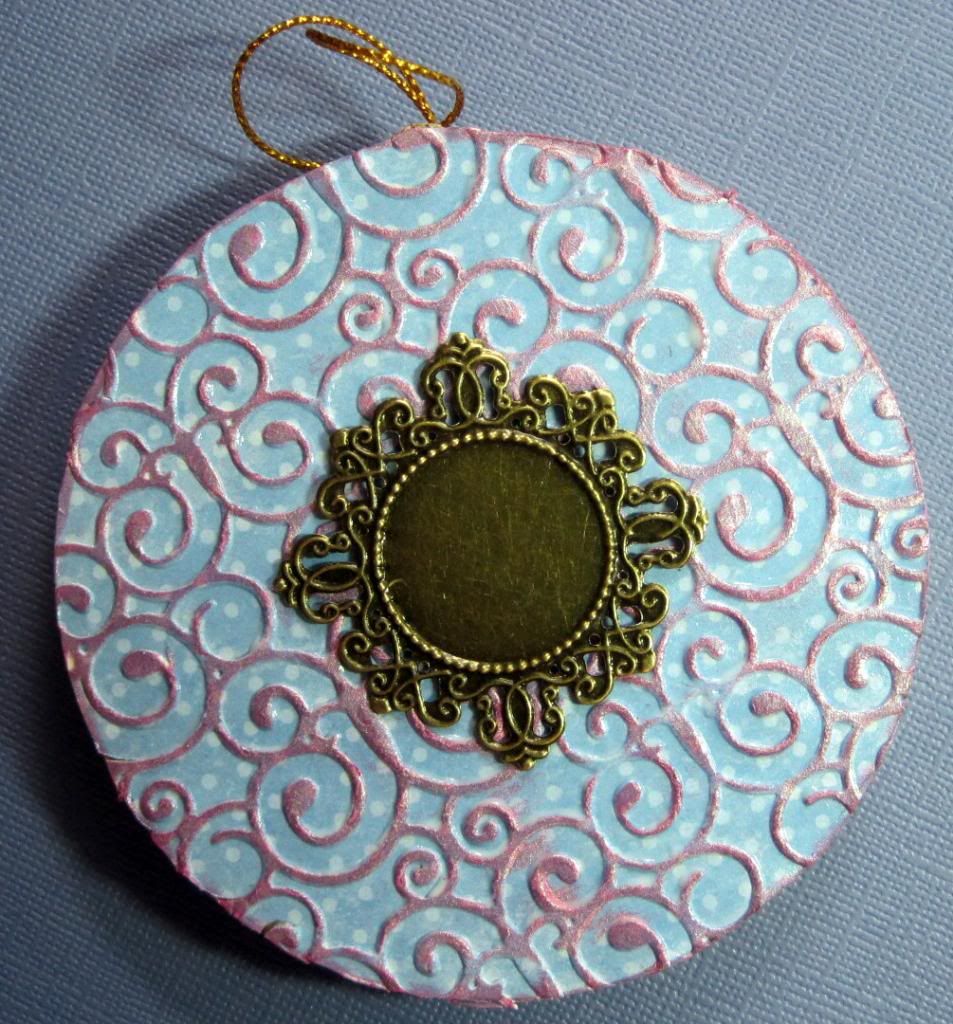
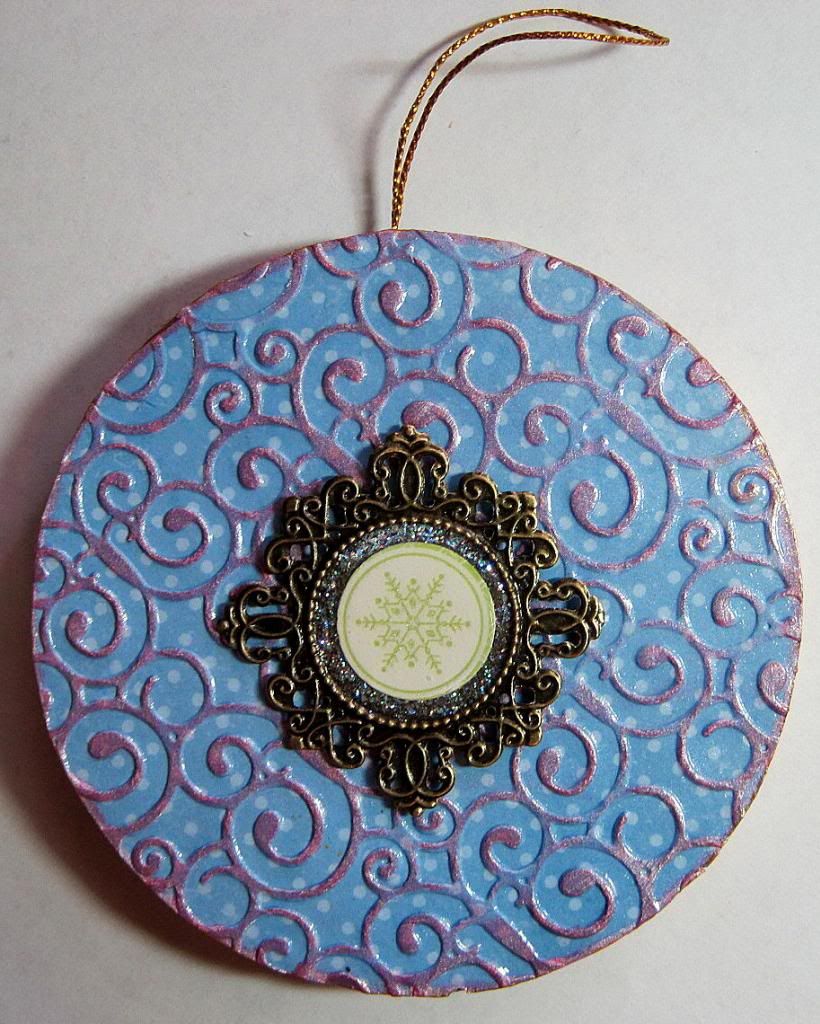
Here is an ornament I just made using one of the beautiful metal embellishments from Miriam's Crafting Supplies.
-----------------------------------------------


Here is the tutorial on how I made it.

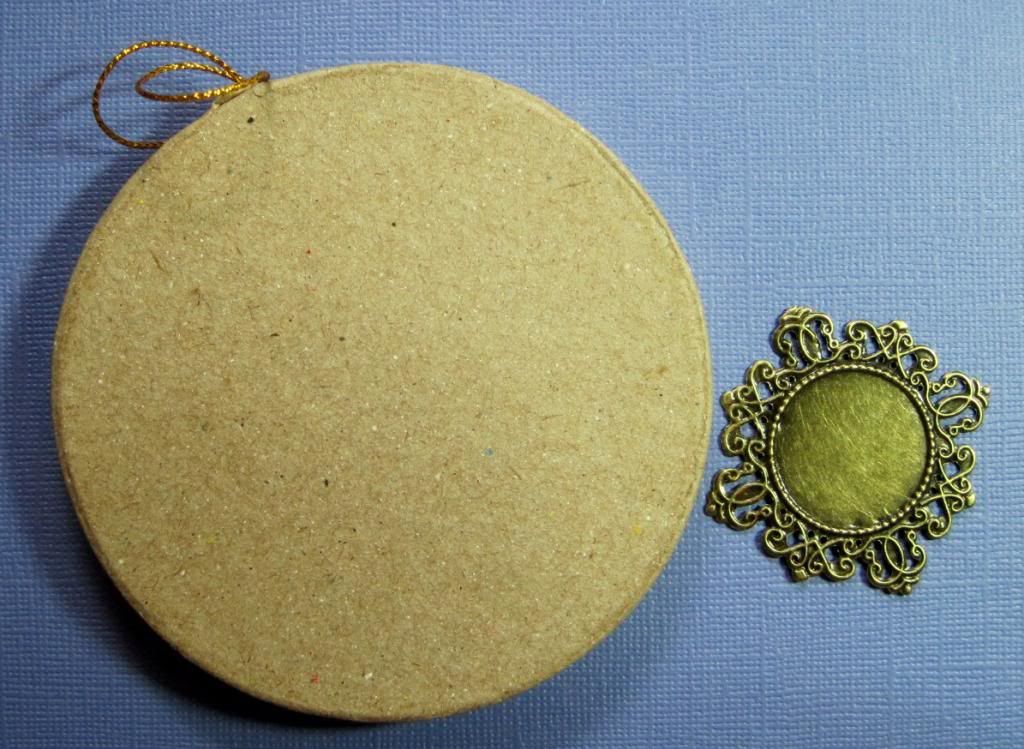
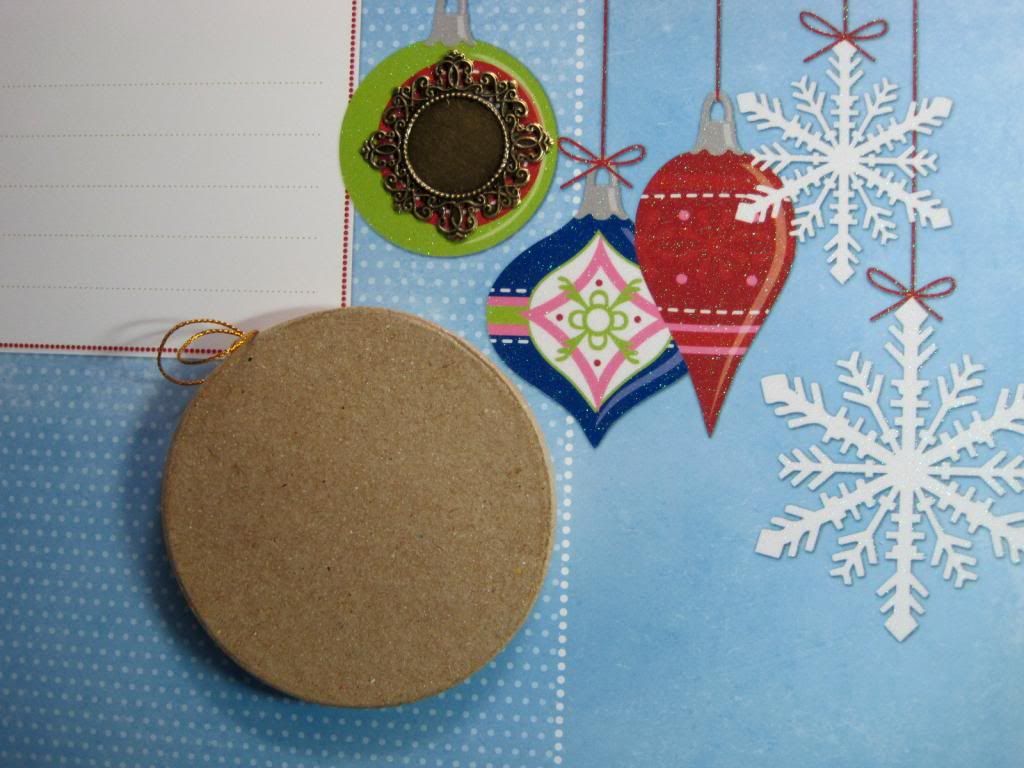
I found this cardboard ornament in the clearance bin at Michaels. I head to the clearance bins now before checking out the sales. I also picked out a metal embellishment I liked from all the pretty metal embellishments that Miriam's Crafting Supplies carries.
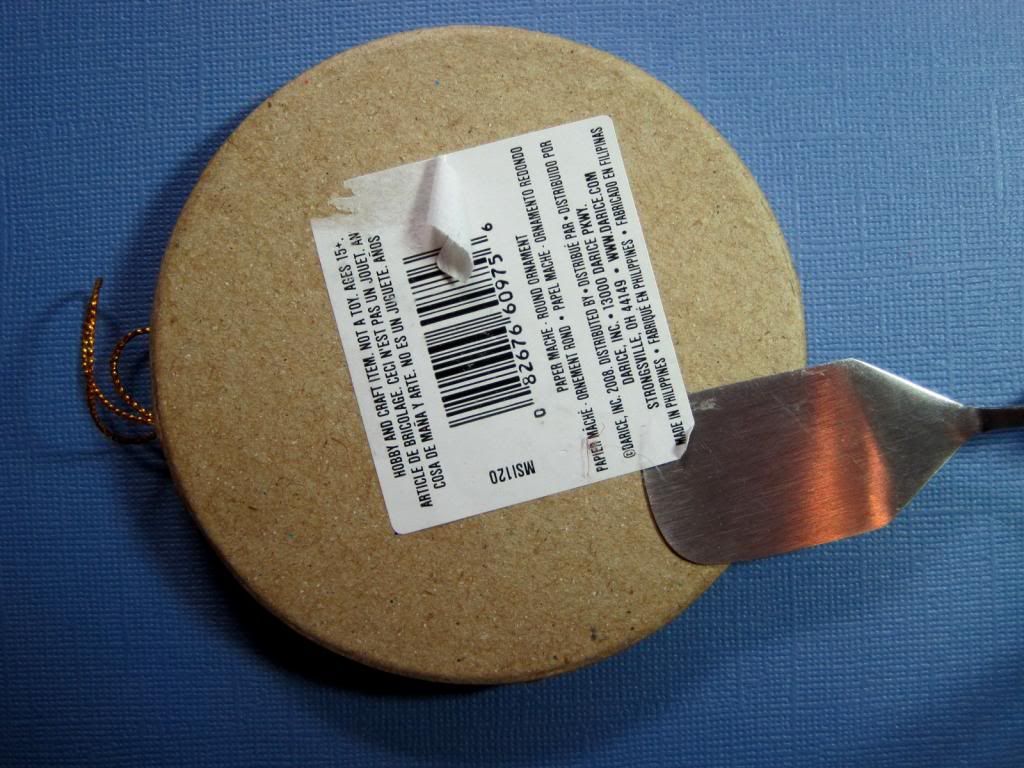
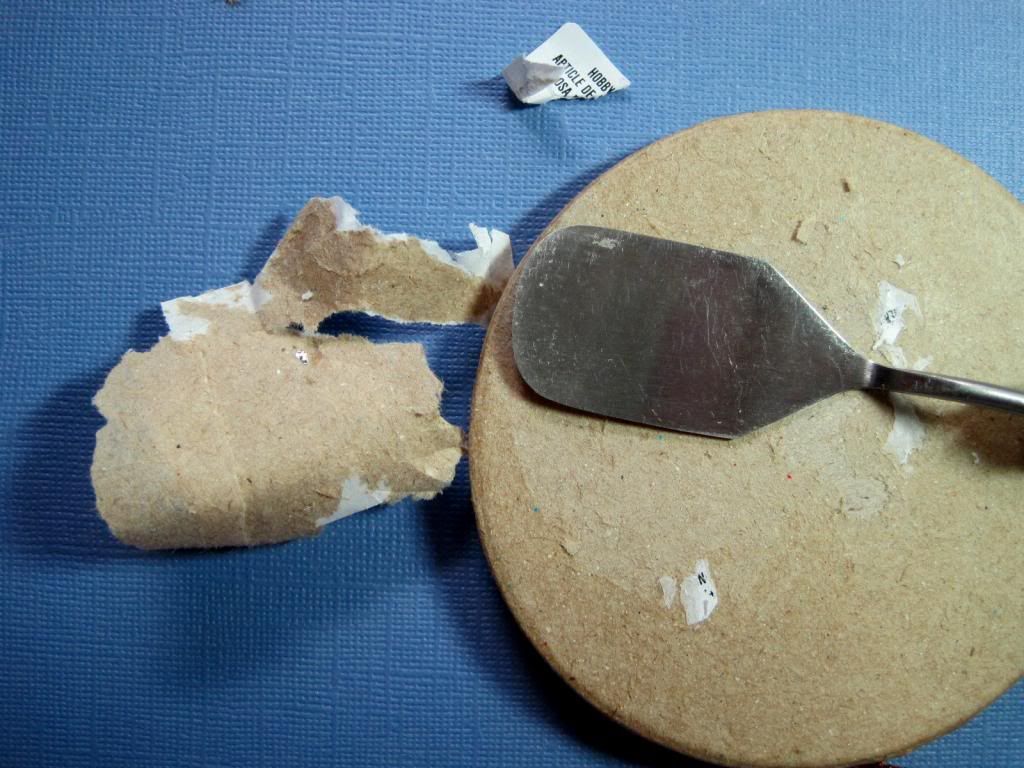
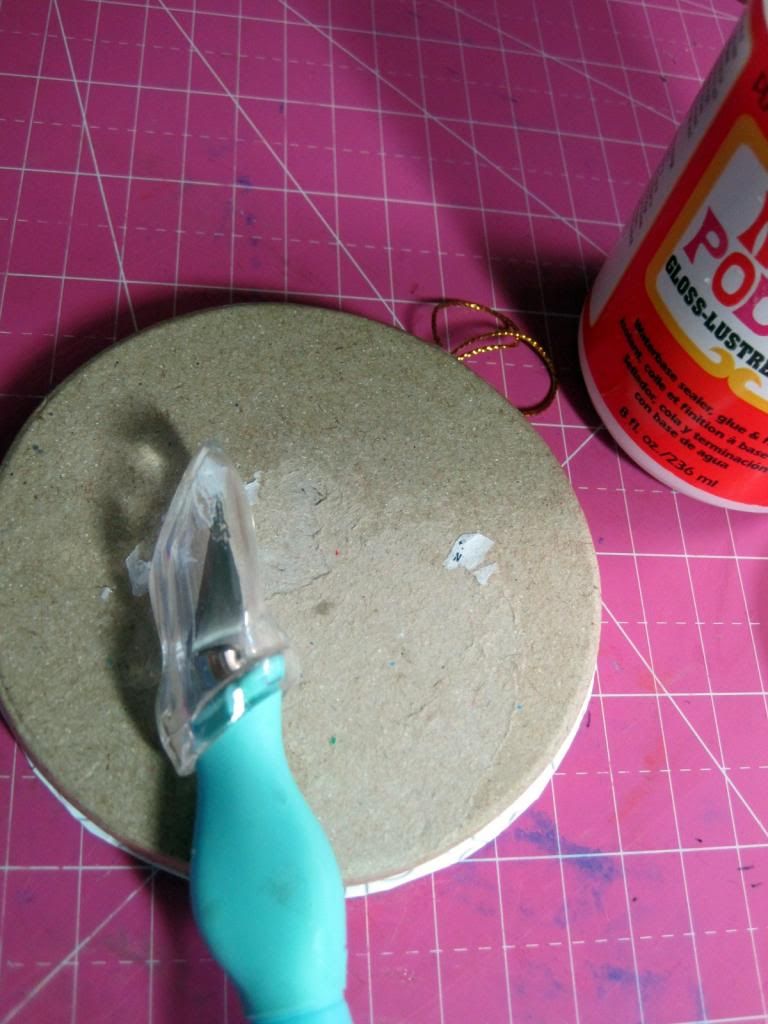
1) Remove the sales tag from the back. The reason being, is that sometimes the tag is so glossy that paper doesn't want to adhere to it. I have found that using the spatula for die cutting mats is helpful.
If you take some of the layers of the cardboard off, don't worry. You'll be covering it and won't notice when you're finished.
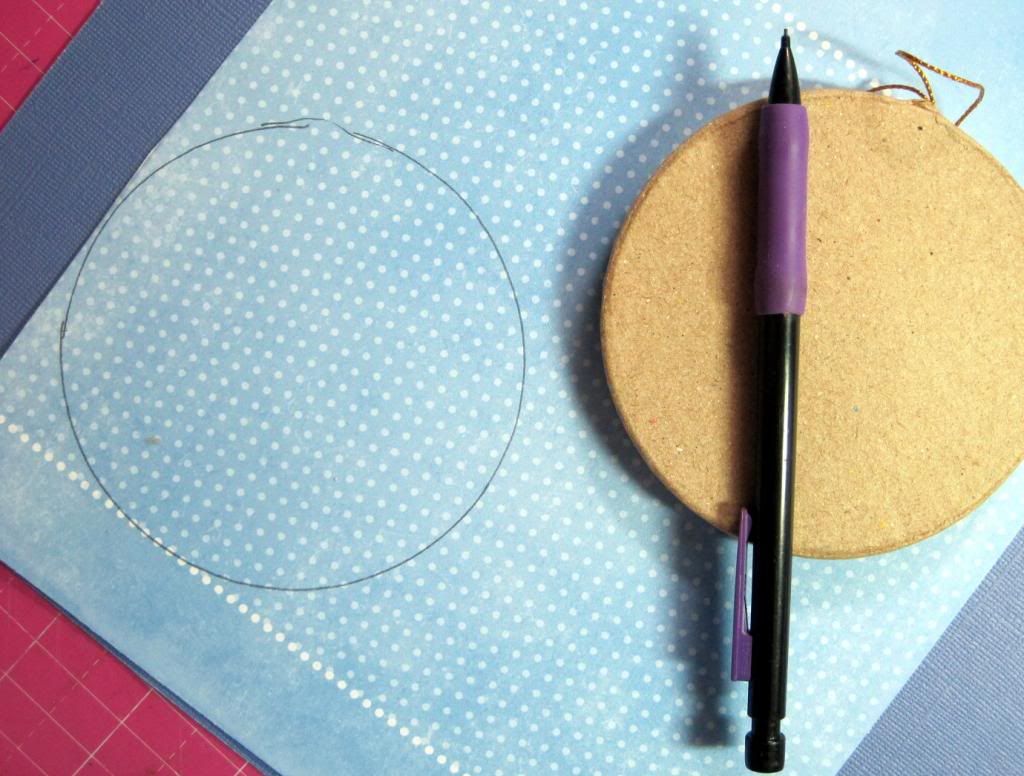
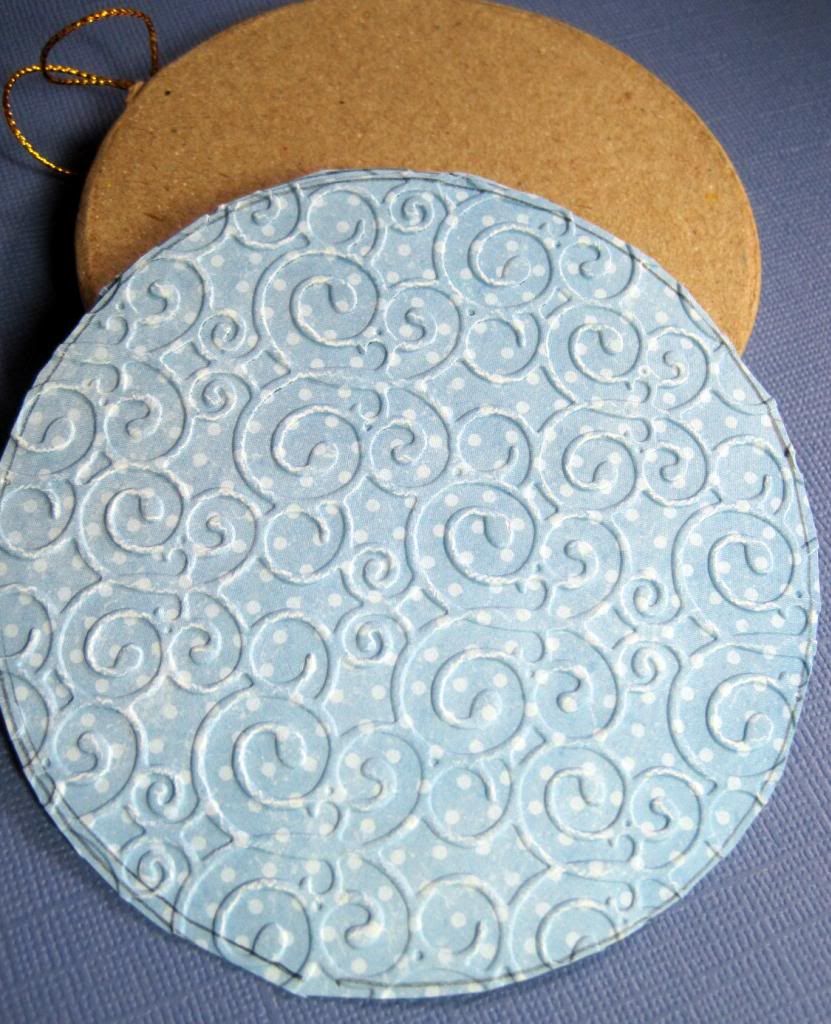
2) Trace around the outside of the shape but leave a little excess to work with. This will be trimmed off after the paper is glued down.

 I picked paper from the

3) Cut around your circle and use your embossing machine and the embossing folder of your choice to add a raised design to the paper.
4) Use Mod Podge to adhere the paper to the ornament and us a utility knife to trim off any excess.
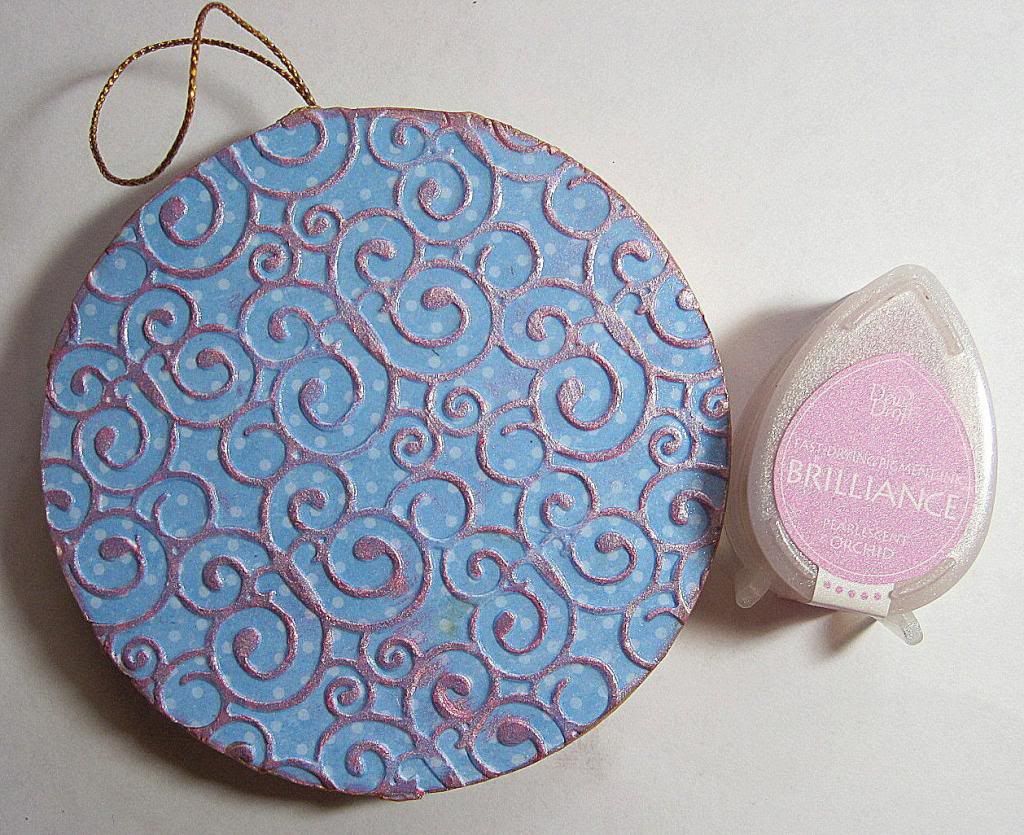
5) Lightly touch the raised embossed design with your ink pad to give color to the raised print. I used a pigment ink in pink. Coat with Mod Podge to seal the ink so it wouldn't smear.
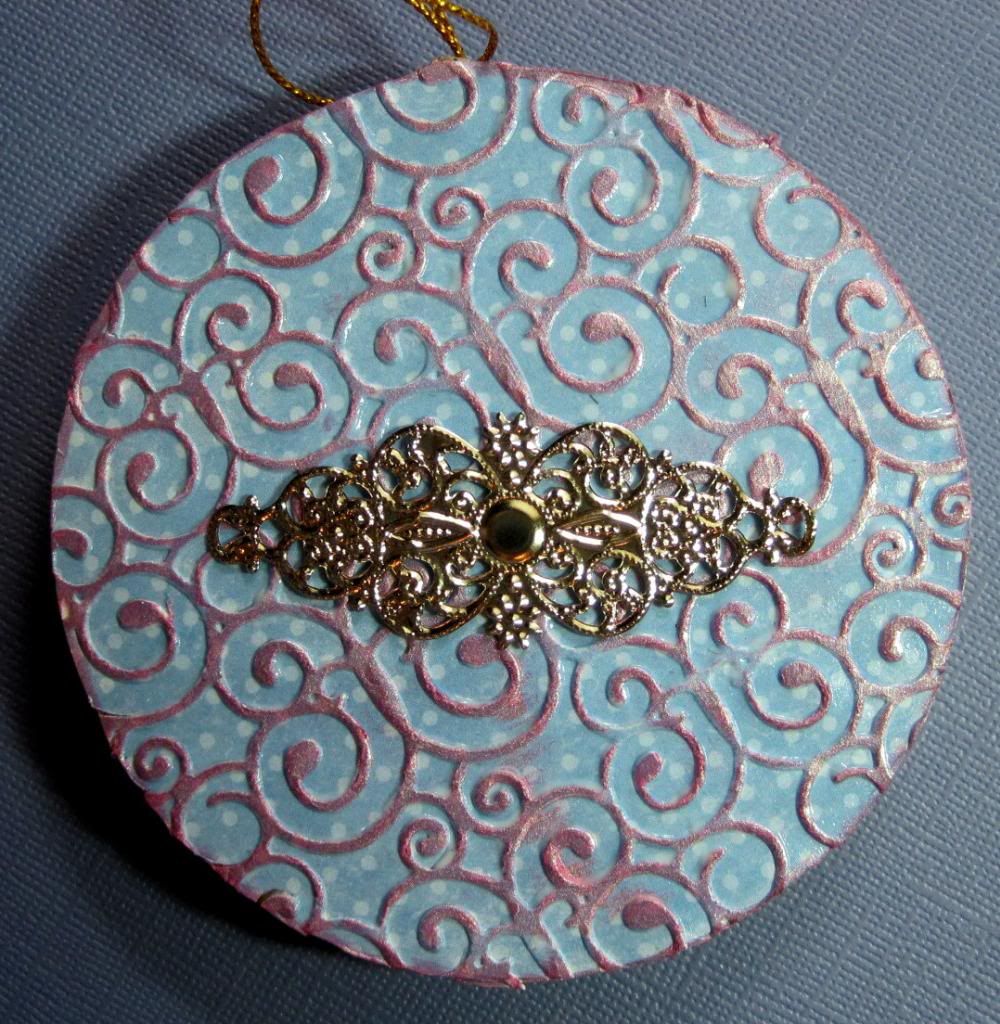
I tried different metal embellishments to see which one I would like best and I went with this one. All the metal embellishments came from Miriam's Crafting Supplies Store and anyone would have been beautiful.

 6) Add Stickles glitter glue to the very outside of the circle and then glue the picture in the middle. I cut a snowflake from the winter pad. There was already glitter on the snowflake. Add Glossy Accents to the snowflake for a nicer look.
7) While everything on the metal embellishment is drying, paint the outside edge of the ornament in gold acrylic paint.

8) Before adding the embellishment take the ornament outside and spray all of it with a clear finish. I used Krylon Low Odar Clear Finish. This will help your ornament last for years to come.
 9) Finally, add the embellishment using a low heat glue gun.

Thanks for stopping by today and please join us at Miriam's Crafting Supplies Blog Challenge. This month's theme is metal which can be one of the beautiful embellishments from above or a metal charm or anything else as long as it is metal or has metal.


Wednesday, June 5, 2013

For Dad Challenge

There is a new challenge over at The Stamping Chef blog entitled: Dad Challenge

This challenge will give you lots of inspiration using the digital stamps from The Stamping Chef Store.

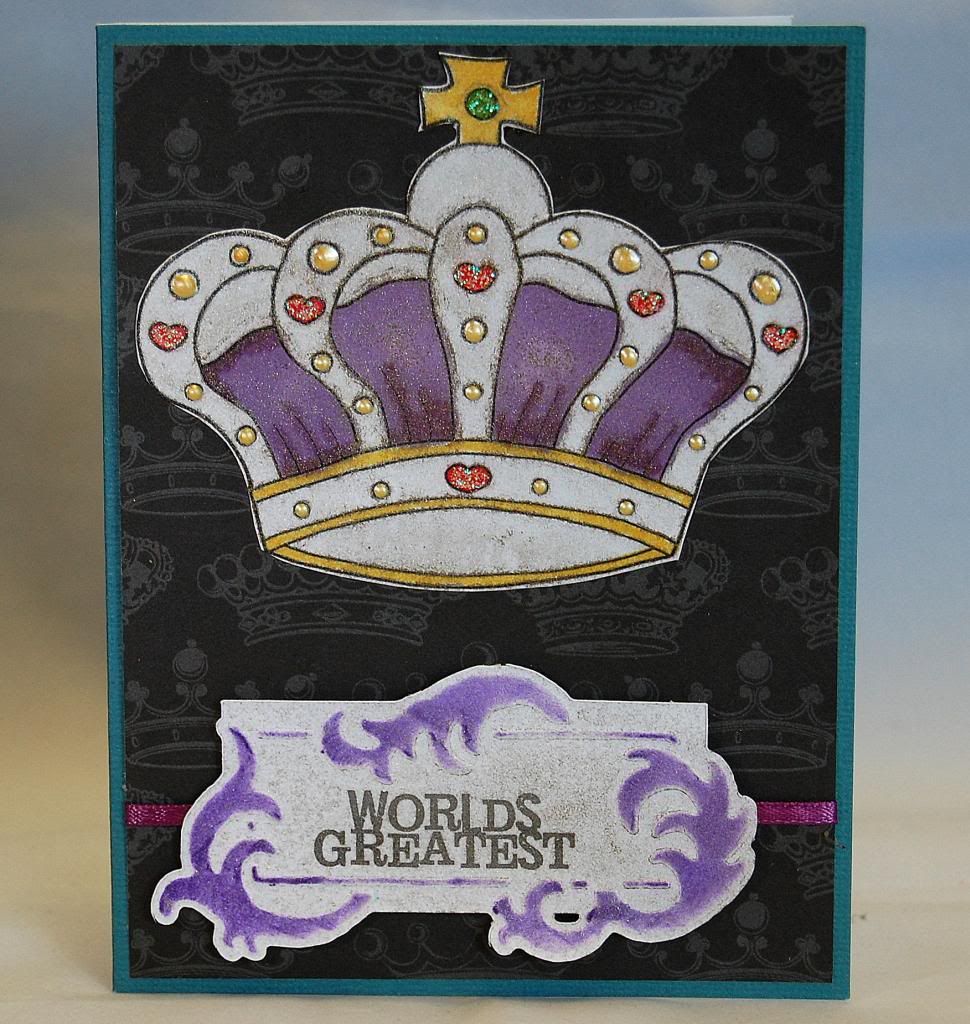
Here is my inspiration for you...

I used the digital stamp crown stamp for the card and colored it using my alcohol markers. I added glimmer mist to it and Stickles. The background paper was in my paper trash pile as I call it. It's the pile where the half used pieces of papers go since you never want to throw any paper away until it's so small you can barely see it. You never know when you may need a piece of paper the size of a dine.

I used my CuddleBug for the word frame and colored chalk ink to add the purple and on the inside of the card is says, well, you guessed it. "Dad"

Check out the cards the other design team members made for some Father's Day inspiration and join the challenge at The Stamping Chef Challenge!

I can't wait to see your creations.

Tuesday, June 4, 2013

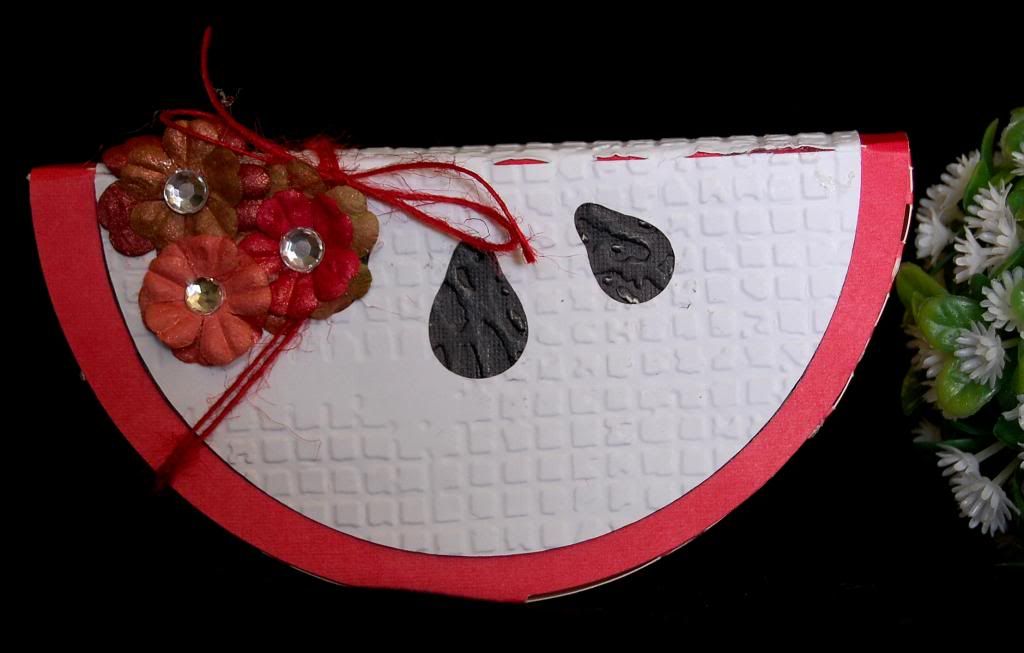
Watermelon box with jute

Welcome to my blog...


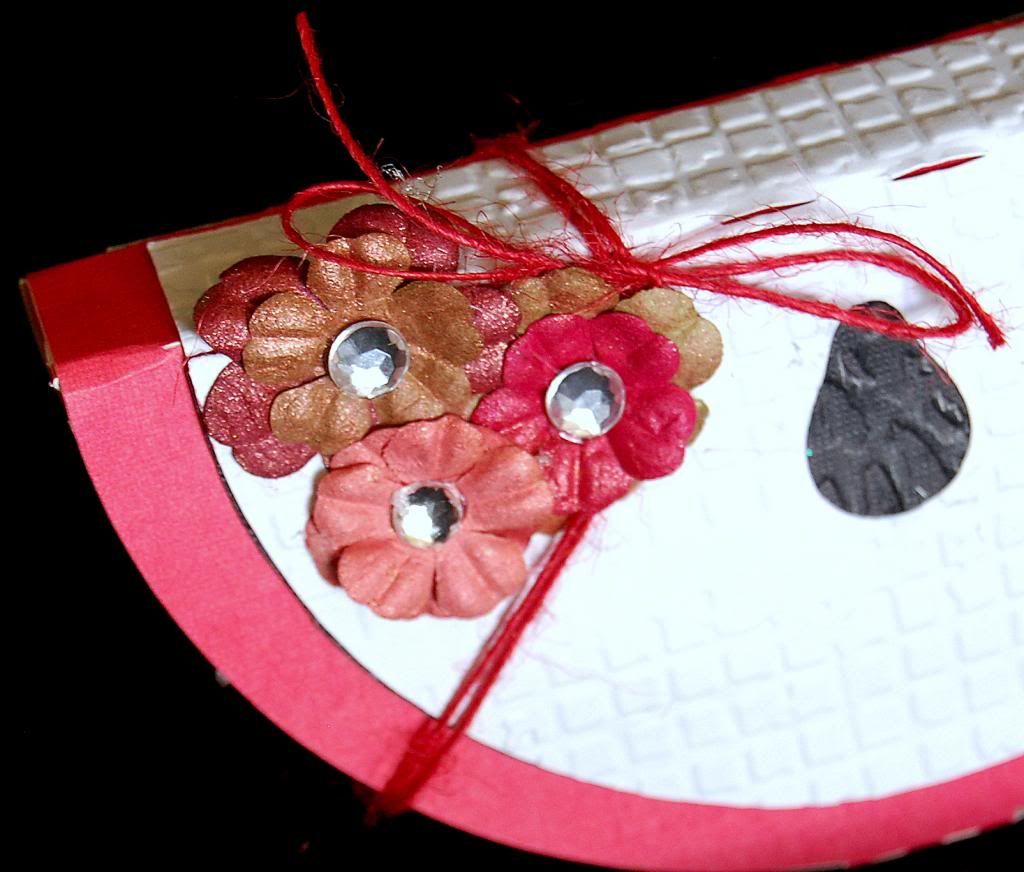
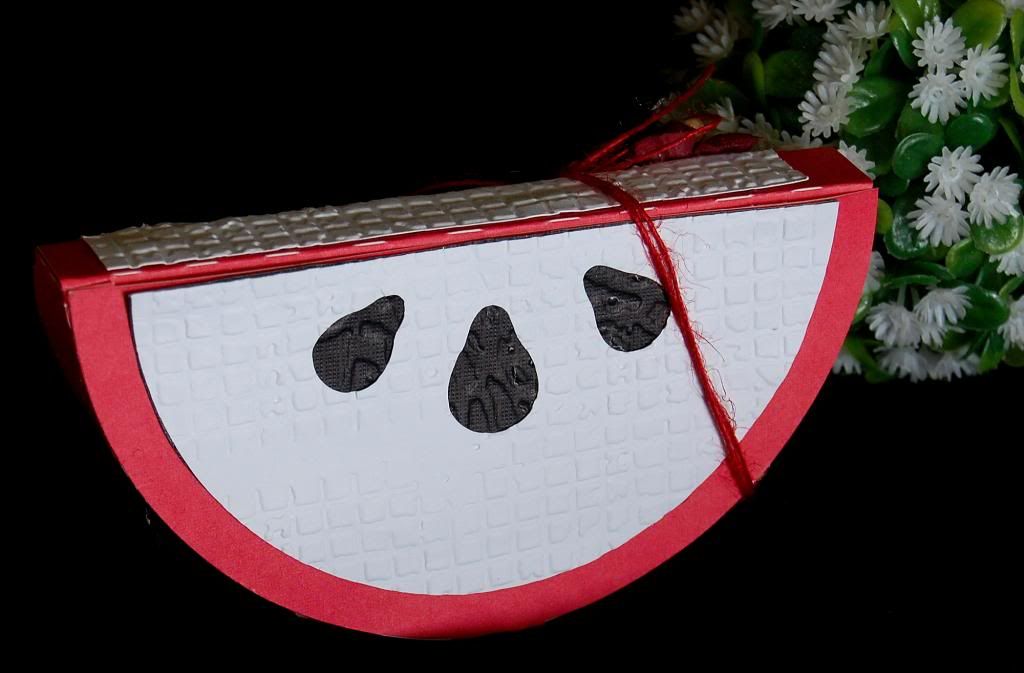
Today I made a watermelon box and had fun adding some flowers and red jute from My Life in Arts N Craft Store to it. 

I could have left the box plain because it's that cute already but the flowers and jute add that extra touch. Also, besides adding that extra touch the jute keeps the box closed tightly so the goodies inside don't spill out. Now that's functionality!

Thanks for stopping by today and here is what I used to make this sweet box.

Red Jute from My Life in Arts N Crafts Store
SVG Attic's Perfect Picnic
store bought flowers sprayed with glimmer mist
patterned embossing folders from Tim Holtz

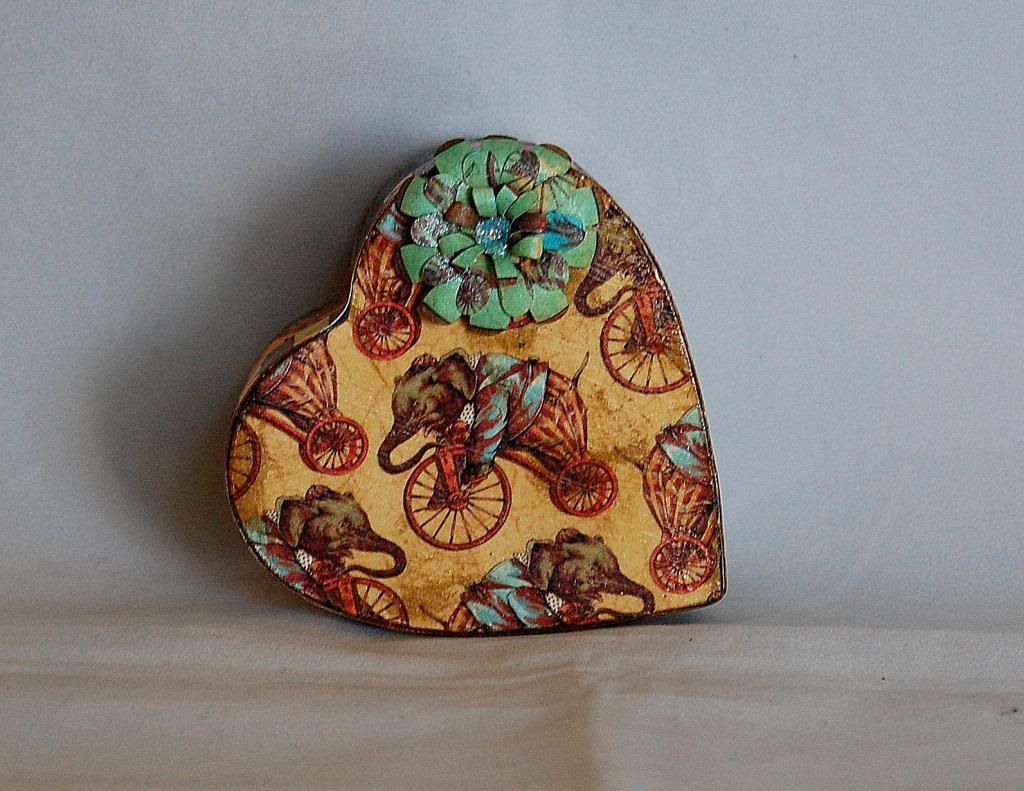
Graphic 45 Trinket Box for Cutter's Creek

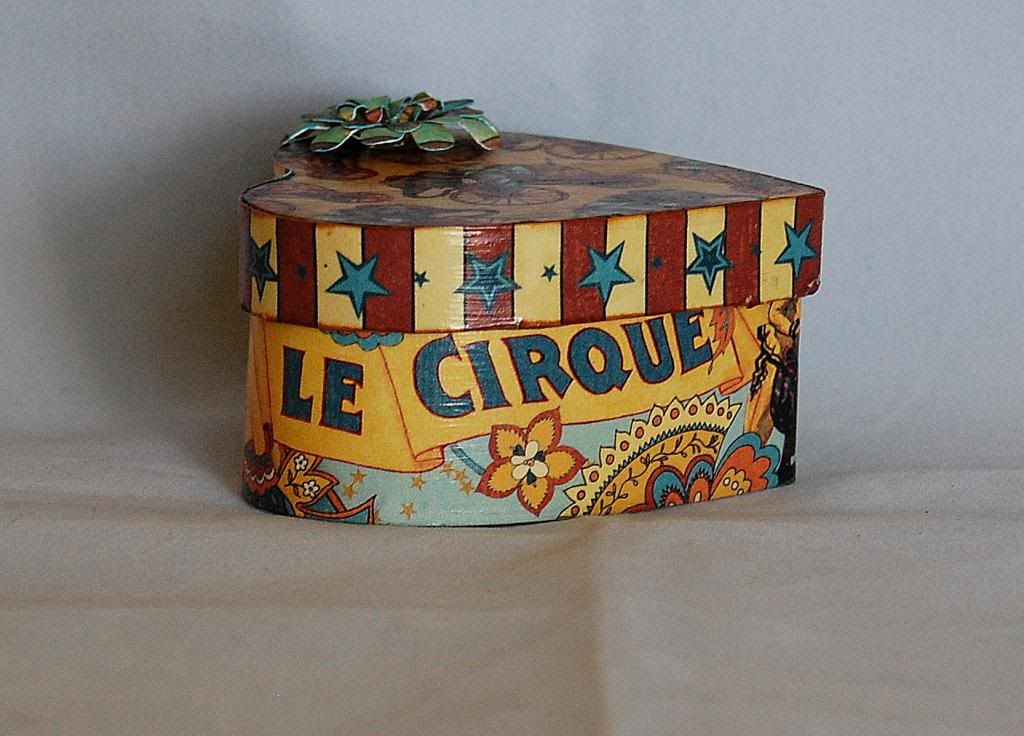
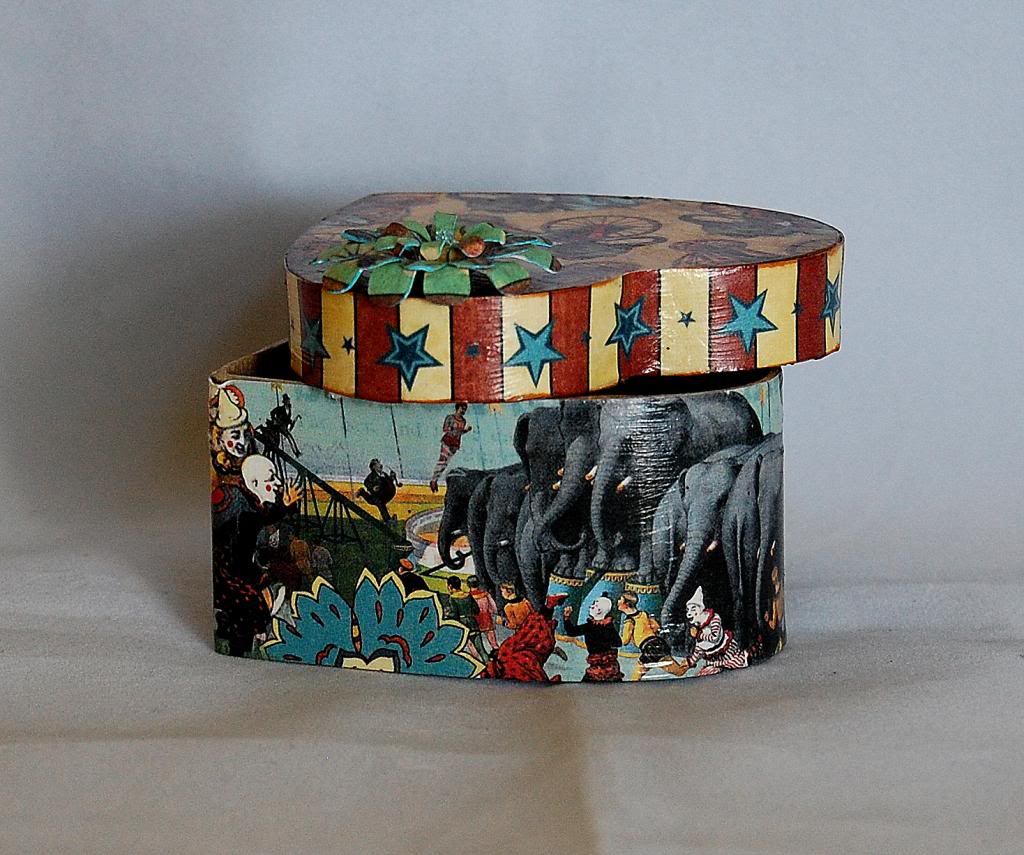
Today I am showing off a paper mache ticket box I decorated using the Le Cirque Double-Sided Paper Pad from Graphic 45. I discovered that Mod Podge works perfecting for attaching the paper and bringing out bright colors. Please contact Kim if you would like to order some Mod Podge.

Here are the directions on how I decorated this box.

First, I measured the sides of the boxes height and then I cut out the strip and played with wrapping it around the box to show different scenes. I decided I liked the elephants on one side and words on the other so I brought the paper together in the middle of the heart and made sure it overlapped some before cutting.  It's important to have it over lap in case you cut it shorter than you thought you were.

Once I had the paper Mod Podged on, I went back and trimmed it down to the edge of the top of the box using my utility knife and scissors.

Then on to the top....

I centered my elephant in the middle of the box and trimmed around the outside edge using my utility knife and scissors and then I Mod Podged the paper on.

I did the same thing with the trim for the top sides that I did with the bottom sides of the box.

I then went back and inked all the edges and added a touch of ink to the paper on the top and sides as well using the Tim Holtz Distress Ink Pad-Tea Dye.

I added some of the Tattered Angle's glimmer mist and a flower I made using the Cricut Cartridge Flower Shoppe. I attached the flower using Scotch quick dry adhesive.

There you have it in a nutshell, an easy project that is fun to do and doesn't take a lot of time. I even let my 8 year old decorate her own box using my paper scraps.


Have a great day! Jearise