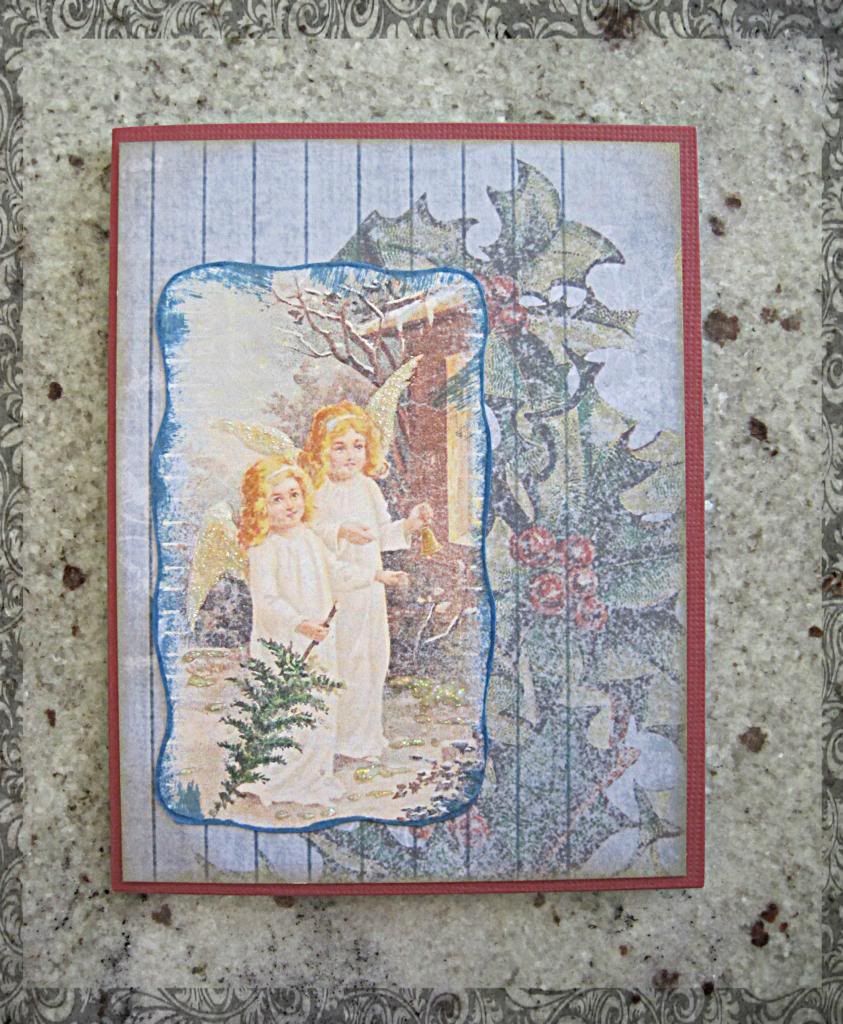
I've been busy making Christmas cards and Christmas is on Tuesday and I still have a few cards who didn't make it to the mailbox. Christmas has come to fast for me once again. I'll have to add a New Year's card and send them next week I guess.
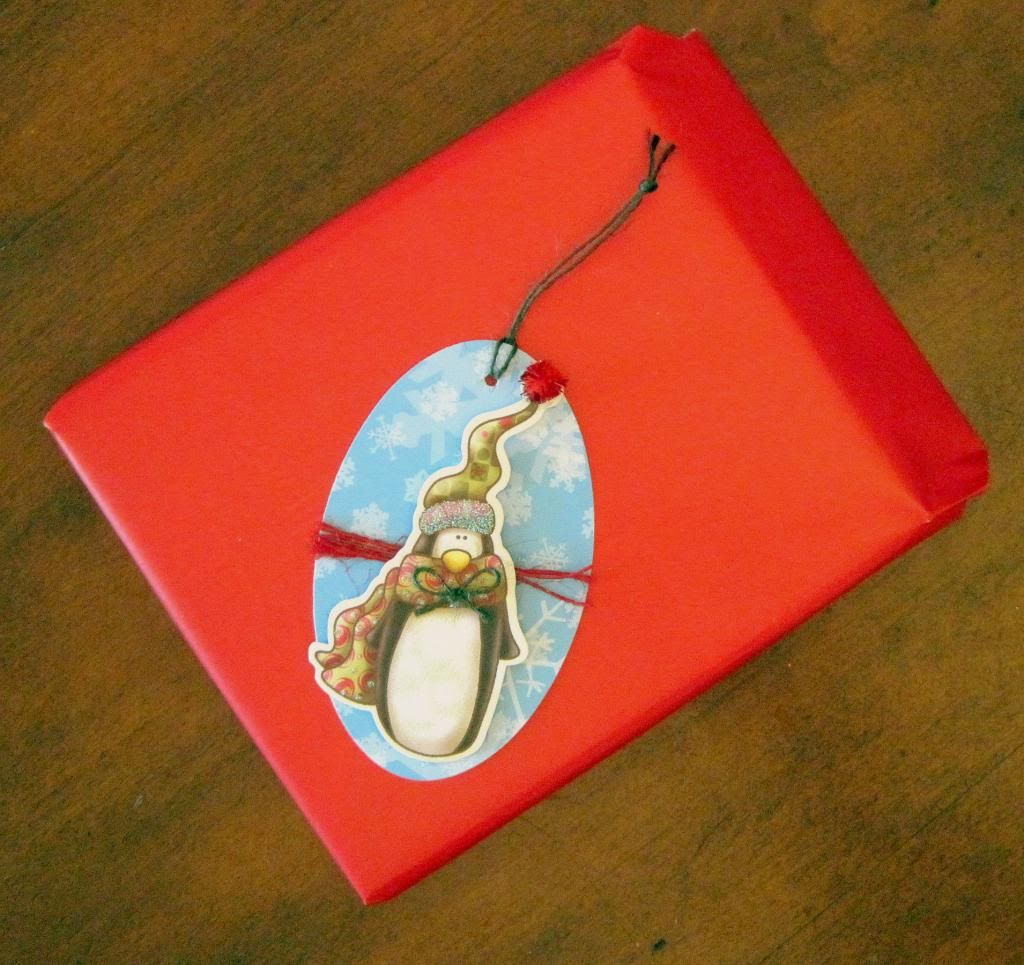
Here is one that was made and got to it's person in time. It went to a teacher at my daughter's school with their holiday gift.
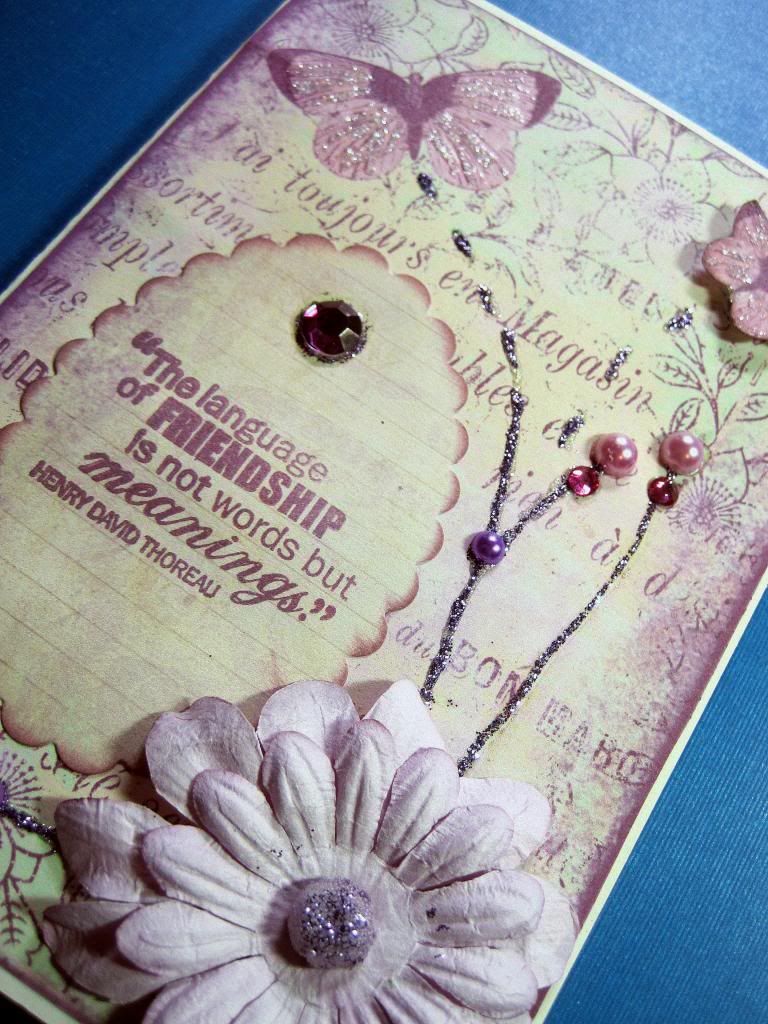
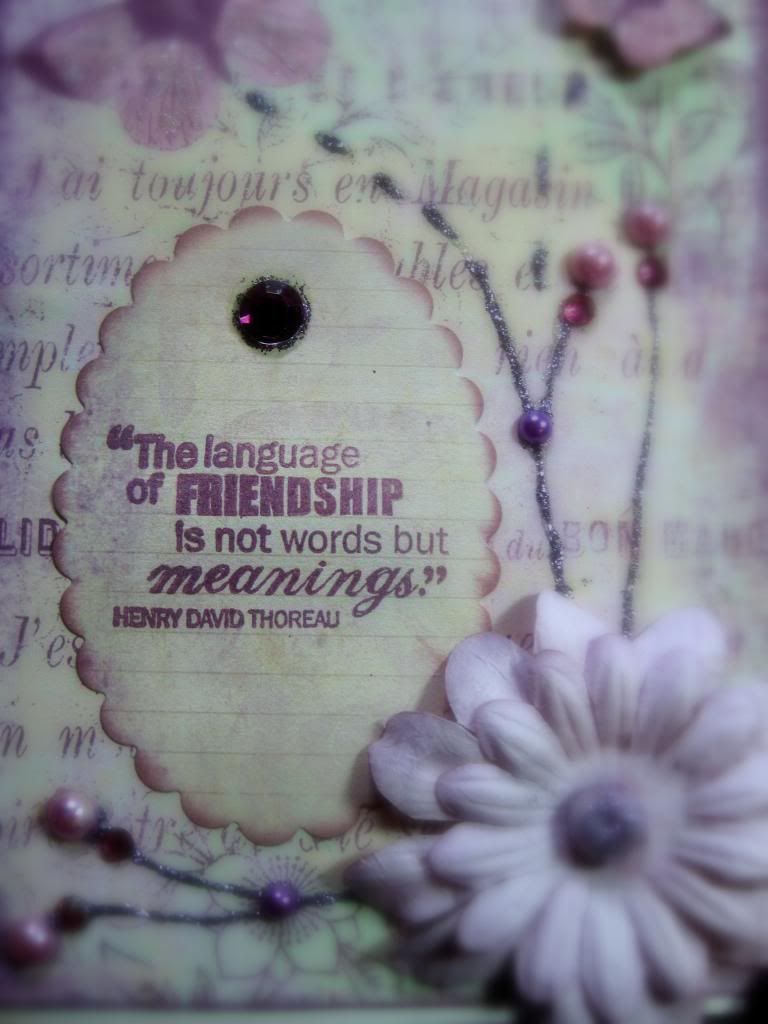
The image is one of the adorable and FREE images from
Dearie Dolls Digital Stamps. I used my colored pencils and blending pencil to color the image but I used my new cream metallic chalks from Pebbles to add dimension to the snow and tree branches. I used metallic grey on the snow and metallic light green on the tree. I didn't know if I was going to like the cream chalks because they are hard to work with and so far aren't good for coloring but they work great for accenting and adding a touch of glimmer to your projects.
The green and red crystals that add that extra little touch came from
Miriam's Crafting Supplies.
I hope you enjoyed this holiday card and don't forget to head to
Chalk N Stock for their December challenge -
anything goes - which goes until December 31st.