Wednesday, February 5, 2014

Spring Hearts Basket


Good morning dear friends...

I've been in my craft room getting ready for Valentine's Day and in a little over a week we'll be giving candy and cards of love to everyone we know or so it seems. That's because I have two little ones in school who love to hand out the Valentine cards. I like making my Valentine boxes and candy holders for the kids instead of buying the chocolate heart box. I get to put what I want in them and how much of what I want and today I am showing you one of those little boxes that's more in the shape of a pail and besides having hearts it has a few spring flowers.


This was a quick and fun little box to put together thanks to SVG Attic. I used their newest set Sweet Shop Party for the box part, Erin's Scalloped Borders for the handle and 3D Spring Flowers for the daisy.

I loved making this box so much I plan on making a few more to fill with goodies and to hand off to some very special teachers next week.

Head to SVG Attic for their newest set Sweet Shop Party and for many more wonderful svg cutting files!
Sweet Shop Party

Sunday, February 2, 2014

KCC's Love Struck Blog Hop

Are you Love Struck by someone who you never thought would enter your life, you boyfriend, girlfriend, son or daughter? Maybe even your pet!


Well here we are again for another Krazy Crafting Crew blog hop.
Lissa Marie at “So Many Crafts, So Little time“. is our hostess so please begin there.

loveStruck

If you have never hopped before it is fun and inspiring, so grab your favorite drink and stay awhile for these inspirational valentine projects that are linked one after another.  I have provided a layout sketch and a card sketch for the team to go with, and have them show you their take on how they will interpret  this piece of art.  They only have to one or the other, I chose to do both, stick around for the blog candy that I am giving away for those who have stopped by.  Here are the sketches..
layoutsketch

cardSketch


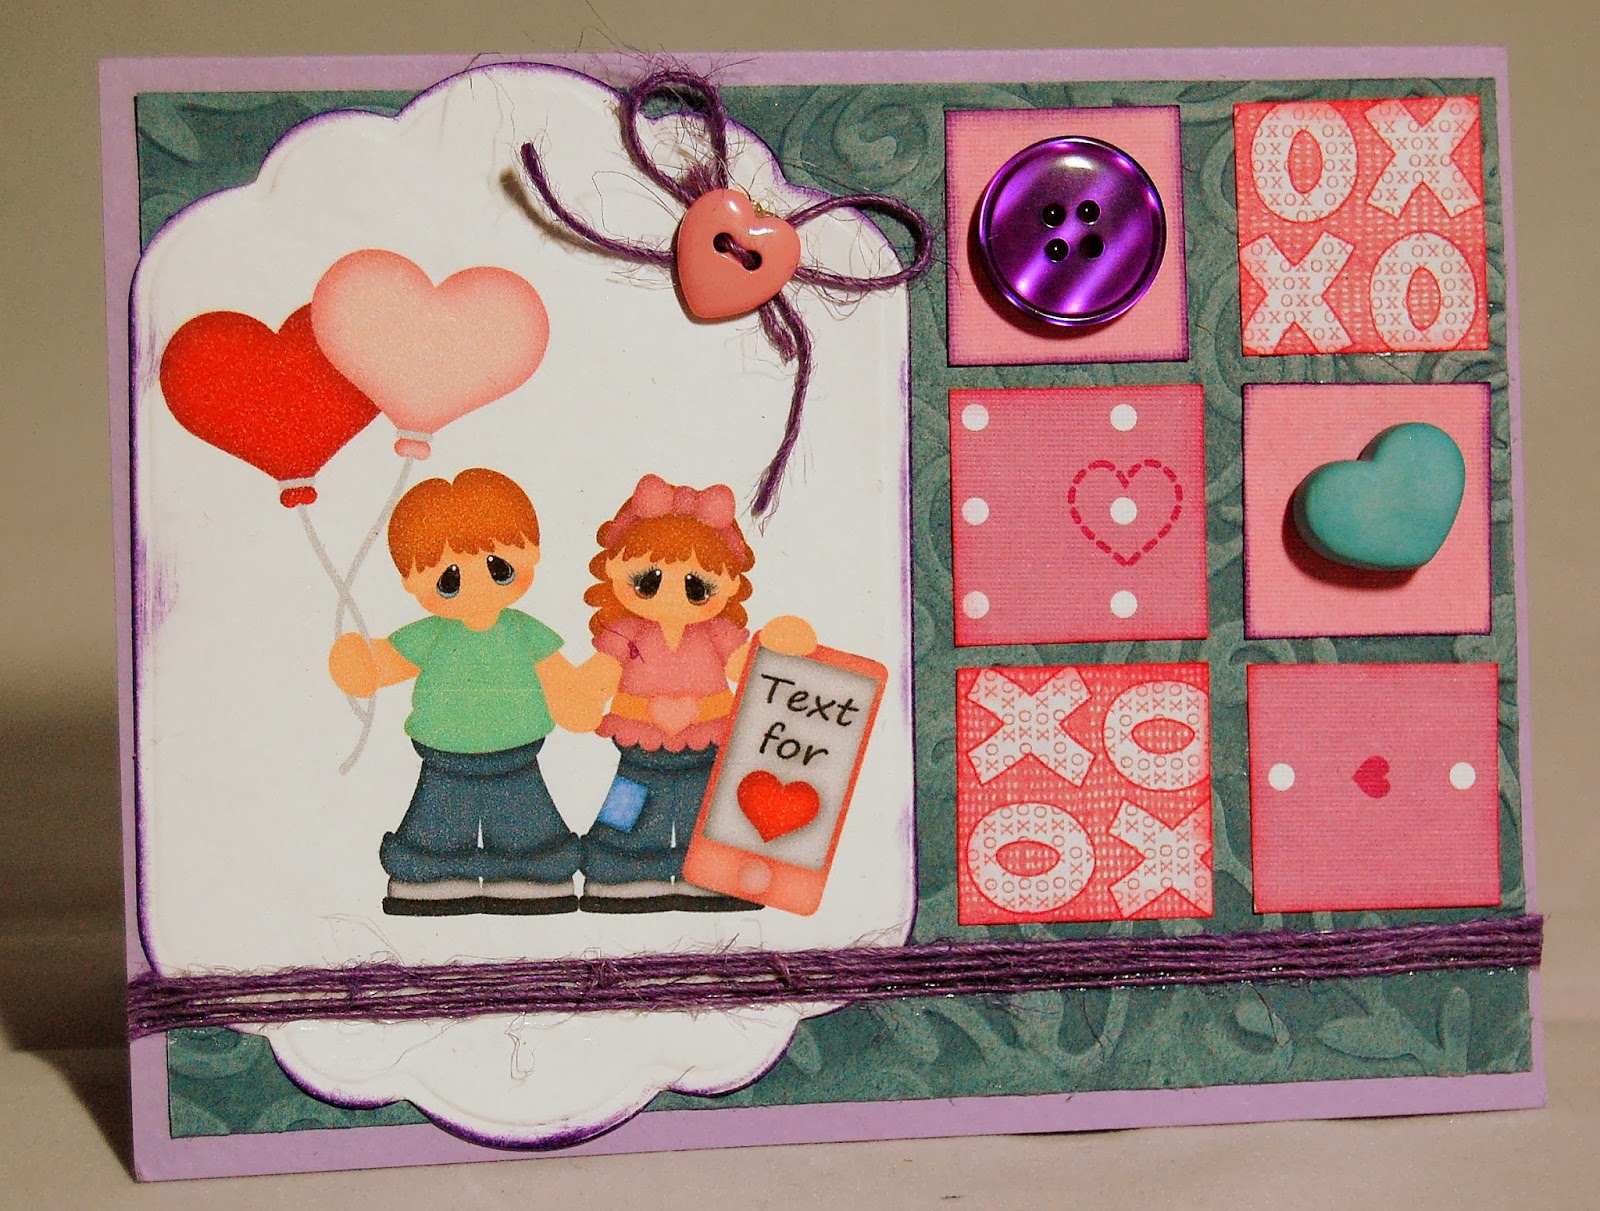
I decided to do a card using the sketch on the right side and here is what I came up with...

We all appreciate you stopping by and checking out all the projects, we all love that comment lovin’ so please feel free if you like even if it was just to let us know you were here!  We love visitors too!

I'm the last stop today so I get to say thank you for stopping by and we look forward to seeing you next month.

I have entered these challenges:
Lia Stampz: Challenge 58
Digi Galore Challenge: Valentine/Love
One Crazy Stamper.com: February Anything Goes Challenge

Tuesday, January 28, 2014

A Special Box

I made this simple little square box for Valentine's Day but the papers I used and the flowers I made and attached are what make it so special.

The carnations on top of this box are from the 3D Spring Flowers set from SVG Attic. I just love, love, love this set and it is one of my go to sets for flowers. I use a lot of paper flowers in my projects.

 3D Spring Flowers

As you can see, I made a small carnation and only used a few of the layers and added a rhinestone from Miriam's Crafting Supplies in the middle and now it looks like a totally different flower.

I cut out the flowers and then spritzed them so it gave them a prettier look and made it easier to manipulate them.

Stop by and check out our newest set: Sweet Shop Party and all the great cutting files at SVG Attic.

Sweet Shop Party

Monday, January 27, 2014

Fudgey Thank You from SVG Attic

We took a vacation during the holidays and headed to Tucson to visit family and friends and our dear neighbors here in Lakeway, TX took care of our four fish and one cat so I wanted to make and give them something a little extra when we got home. I turned to my SVG Attic files and came up with this cute set of which I made and filled with fudge. 


First came the homemade fudge...which I wrapped in Seran wrap.
Then came the box from the SVG Attic set Cookies for Santa.
Third came the snowmen tags to attach to the boxes from the set Build A Snowman SVG Collection.  I made shadows for the snow people. I had two types of fudge so I wrote on the tags which was which type.

Fourth came the card that made a complete set and also was from the Build A Snowman SVG Collection. I just used my program to do some welding to make it into a card.

 Sentiment inside of card

Here's another look at the completed set.
Thanks for stopping by today and crafty hugs from me to you.

Friday, January 24, 2014

Snowflakes Blog Hop with Creating Blog Hops Cafe


Welcome to...
The Creating Blog Hops Cafe'

Our group is here to inspire you every month with many different projects that have been made by some of the most amazing crafters that I know. We are dedicated to be here to inspire you every single month, on the last Saturday of the month, all year long. Whether it be a specific theme, season, or event.  So, grab yourself a Latte and hop along with us while we proudly show off our projects to you each and every month.

Your first stop along this hop will be with...

Robin Lane with Create-A-Latte 

****

Snow was a major theme of my Christmas cards and thank you cards this year so I am showing you a few I made and how I made them. Enjoy!

This is my snow card. I used a stamp I have and I used stamp markers to color the snow two different colors. I love how the look of this card came out. It was simple to make but looks elegant.

This was the thank you I sent out this year. The stamp in the middle was just one of my wooden ones. I used my Big Shot to emboss the back ground and then I used Stickles to accent a majority of the snowflakes and finally I went back and added some gems from Miriam's Crafting Supplies.

 Now these next two cards don't have snowflakes like the other two above but they do have snow in the form of snowmen so I just had to include them. :)
 
 The above is a cute sticker I found in my stash this year. I decided to layer different designed paper and add it to the middle of the card. This was a quick and simple but sweet card.

This is one of my favorites and I can't remember where the digital stamp came from but I used my colored pencils to color it. Another quick but cute card.


Now, for some candy. This month we will be giving one lucky person a Becky Higgins Project Life Season's Mini Kit. For your chance to win this amazing blog candy you must hop through each one of our talented crafters blogs, be sure to leave everyone a little blog lovin', and if you are not already a follower please become one to each of ladies so that you do not miss a single project that they make.  


Well I'm the last person in the line up so I want to thank you for joining us today and I hope you have enjoyed looking at all the snowflake themed projects we had to show.

See you next month!

Thursday, January 16, 2014

Simple Valentine's Boxes

Good morning! I have started getting ready for Valentine's and love to decorate as much for this holiday as all the others. This holiday is perfect for pinks, purples and reds, flowers, lace, glitter mist and glitter glue and that is where I've gone with my projects today...

The boxes are a simple design I put together myself but it's the extras that make them perfect. I love making these little boxes to embellish and put in the window or on a ledge and then I fill them with goodies the day before. If I filled them sooner, I would eat it myself. :)

Cutter Creeks Products Used:

Scotch quick-dry adhesive used to assemble the boxes
Scotch pop up foam squares used to attach flowers to the top of boxes
Stickles glitter glue  for the designs on the top and sides of the boxes
Tattered Angels glitter mist for the flowers on the red box

Flowers for the red lid boxes are from SVG Attic.

Thanks for stopping by today and Happy Valentines Day to you!

Thursday, January 9, 2014

Thank you card for Cutters Creek

The holidays are over and the gifts unwrapped which means thank you card time...

This card came together quickly and turned out lovely as a special way to say thank you.

Products from Cutter's Creek used:

Cuttlebug 5 x 7 embossing plus folders for the tag on front 
Tim Holtz Distress Ink Pad - Tea Dye  for coloring raised embossing on tag
Distress Stickles in Aged Mahogany for dots on tag and bottom of card
Cuttlebug embossing folder for background behind tag
Perfect Pearls Mists in Pewter for touch of color and shimmer on dry embossing behind tag
Advanced Tape Glider Refills 2/rolls (ATG-Pink) for putting it all together


Now let me thank you for stopping by today and wishing all the best in this new year.